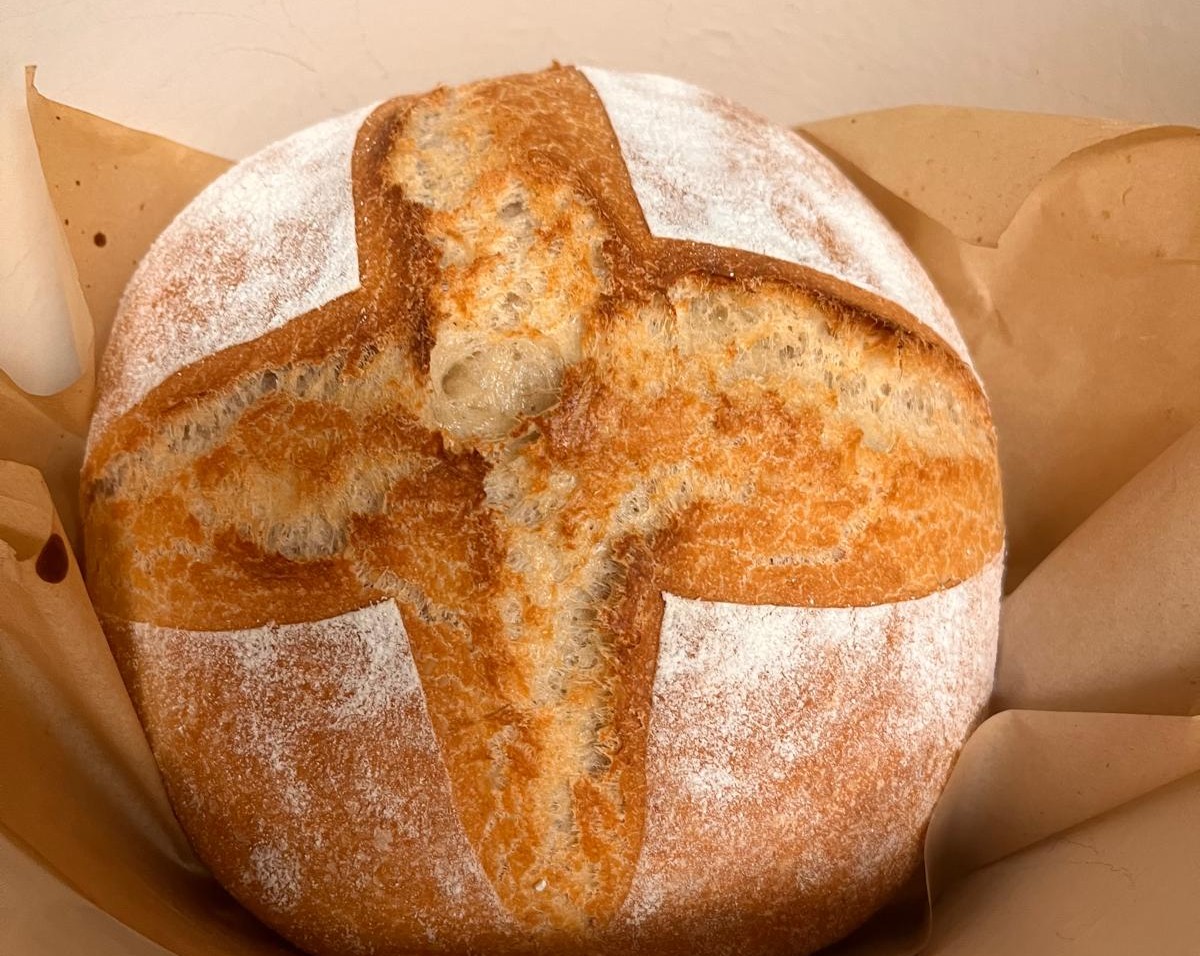
BONDBRÖD
Our Bondbröd is a rustic, country-style loaf with a golden, hard crispy crust and a soft crumb, made from a beautiful blend of organic wholemeal and bakers flour. Hearty and full of flavour, it’s wonderfully versatile—ideal for sandwiches, a companion to comforting soup, or tucked into a basket for outdoor adventures. This is the kind of bread that brings a taste of home, wherever you are.
1. MIX THE DOUGH
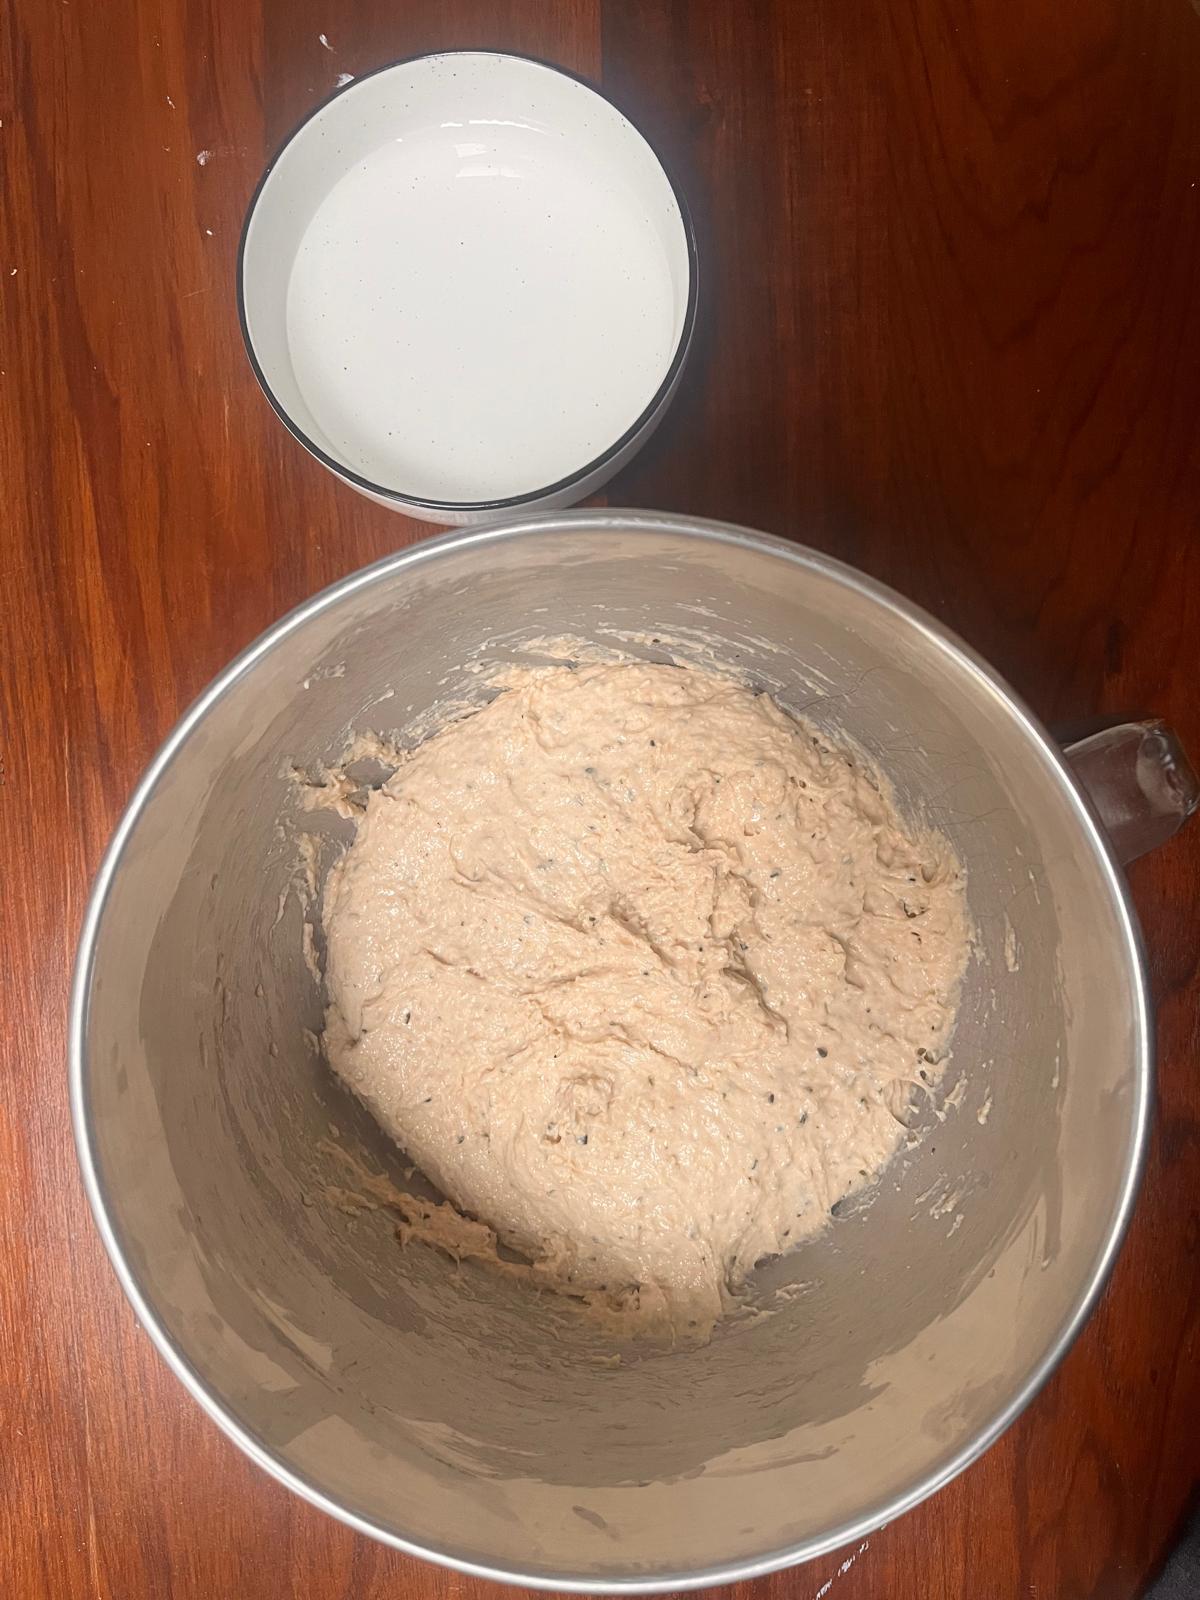
In a large mixing bowl, dissolve the yeast from Bag a in 550ml of lukewarm water (around body temperature—if it feels neither hot nor cold to the touch, it’s just right). Add the contents of Bag i and the oil, then stir with a wooden spoon or spatula until the mixture is completely smooth and lump-free.
Cover the bowl lightly and let the mixture rest for 30 minutes. Waiting this time between folds allows the gluten to relax, making the next fold more effective and preventing the dough from becoming too tough or tearing.
Having the right water temperature is important. Yeast likes warm, but too much heat can kill it. Be careful! Aim for lukewarm water—around 39–42°C.
Warm water activates yeast. Helps it grow and makes dough rise. Too hot water kills yeast! Above 50°C, yeast dies. Cold water slows yeast: Dough will rise slowly, if you want a slower rise or if it is a hot day, then use cold water.
How to get it right. Warm the water gently on the stove or in the microwave. Use a thermometer if you have one. No thermometer? Test with your finger—it should feel like nothing or just a little warm, not hot!


2. KNEAD THE DOUGH
After resting, knead the dough for 5–10 minutes until it becomes smooth, elastic, and slightly springy and have strong gluten threads.
If you take a piece of the dough and gently stretch it, you should be able to pull it into a thin layer. This is how you know you've kneaded the dough enough to develop strong gluten threads, which will give you nice, fluffy bread.
Why is strong gluten important?
Gluten acts like a stretchy net that holds the dough together. As the yeast ferments and releases gases, strong gluten threads trap those gases, allowing the dough to expand like a balloon instead of tearing. This creates a light, fluffy, and airy texture in your finished bread.
Shape it into a ball, return it to the bowl, and cover with a clean tea towel. Let it rise for about 30-45 minutes, or until it has doubled in size.
Place it somewhere warm (ideally around 26°C) and out of draughts.


3. PREHEAT & PREP FOR SHAPING
Take two medium-sized bowls or proofing baskets. Line each one with a clean tea towel, making sure it sits smoothly against the sides, then lightly dust the tea towels with flour from Bag f.
A proofing basket
(or banneton) is a woven or coiled container, often made of rattan or cane, used to support dough during its final rise, helping it keep its shape.
The baskets (or bowls) also help support the dough as it rises, while the tea towel prevents it from sticking to the bowl, and makes it easier to transfer the loaves to the baking paper later without losing its shape.
Divide the dough into two equal pieces and gently shape each one into a smooth, tight ball.
To shape a round loaf, lightly flour your work surface and place the dough in front of you. Lightly knead it in a round shape then cup the dough gently with both hands and with a smooth, controlled motion, drag the dough towards you along the bench—this stretches the surface and tightens the outer “skin” of the loaf.
Without lifting your hands, push the dough away from you, in a circular movement. Repeat this pull-and-push motion twice around, keeping the movement gentle to avoid tearing the dough. By the end, you should have a smooth, evenly rounded ball with a firm, elastic surface that will hold its shape during proofing.
. Place the dough balls seam-side down in the prepared bowls or baskets. Fold the edges of the tea towels over the dough so it is fully covered, creating a cosy environment for the final rise.
Let the dough rise for about 45min, or until soft, airy, and bouncy to the touch. After 30 minutes of rising time, preheat the oven to 250°C so it’s ready when the dough is. Once the full hour has passed, place the bowls in the fridge for 10 minutes—this helps firm the dough slightly, making it easier to score and handle before baking.
4. OPTION 1:
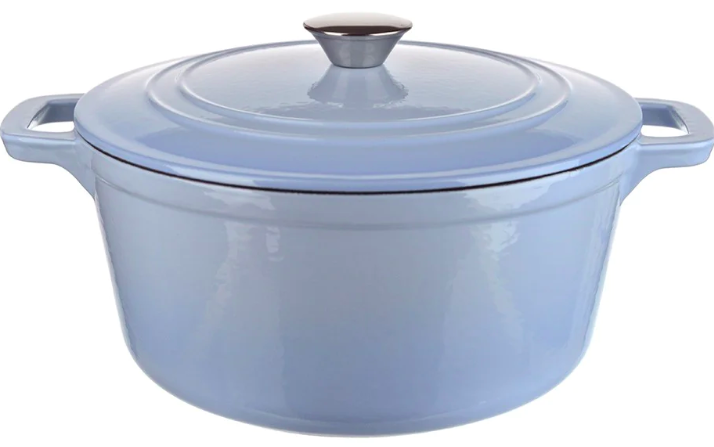
CAST IRON POT (RECOMMENDED)
Place a cast iron pot with its lid in the oven and preheat to 250°C. The heavy pot will trap steam as the bread bakes, giving you a beautifully crisp crust and a tender interior.
Once the oven and pot are fully preheated, take out one of the bowls of dough. Cut a piece of baking paper in half, then place one half over the top of the bowl. Carefully flip the bowl over so the dough gently releases onto the paper, seam-side down.
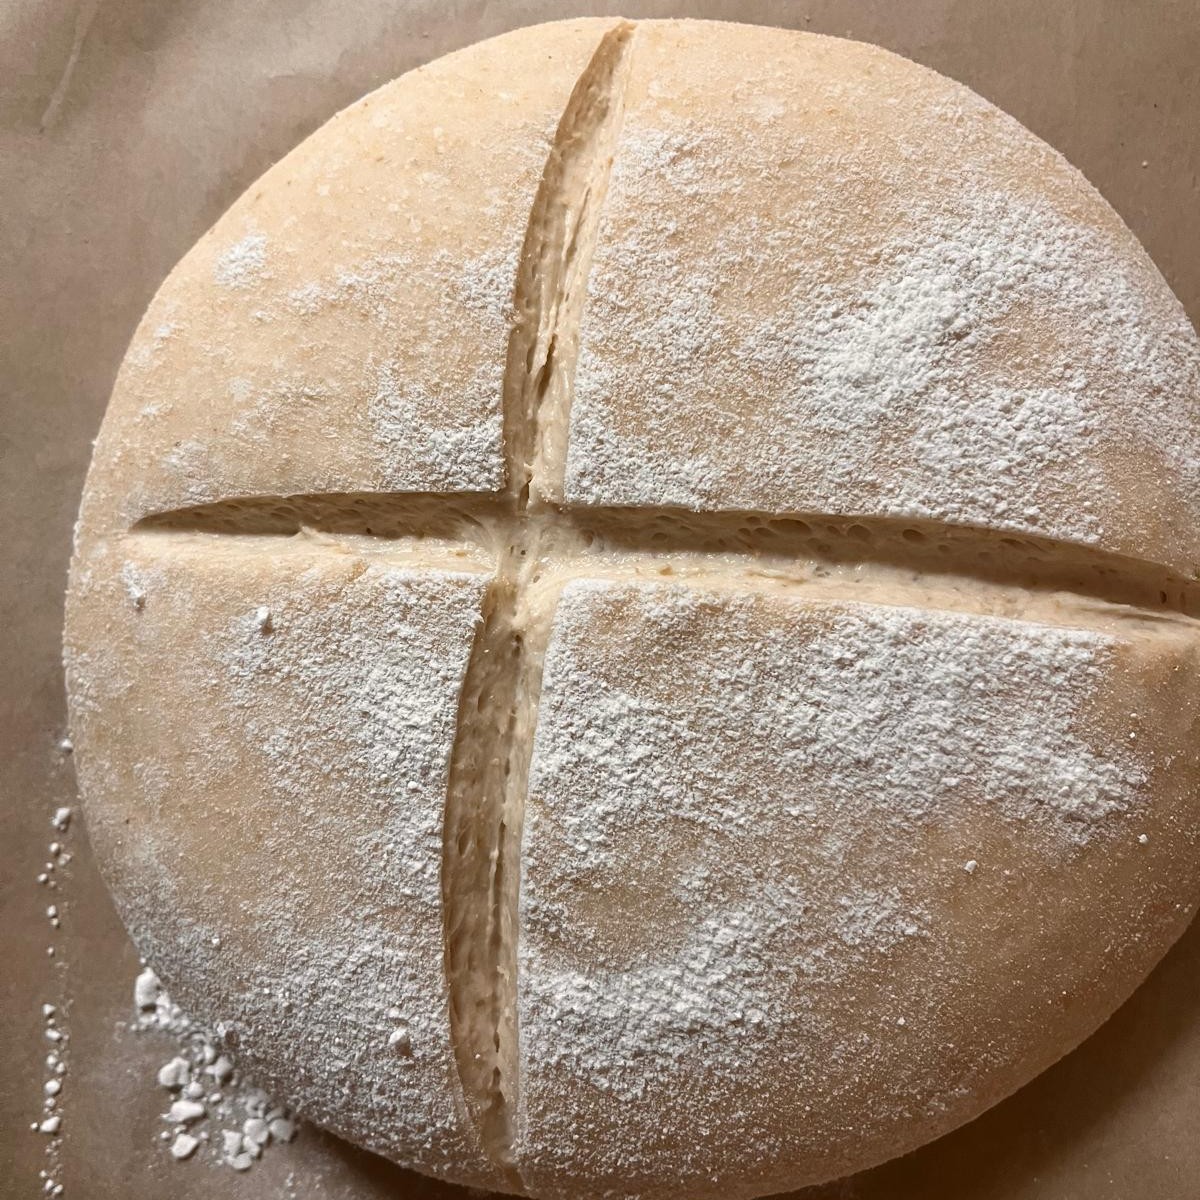
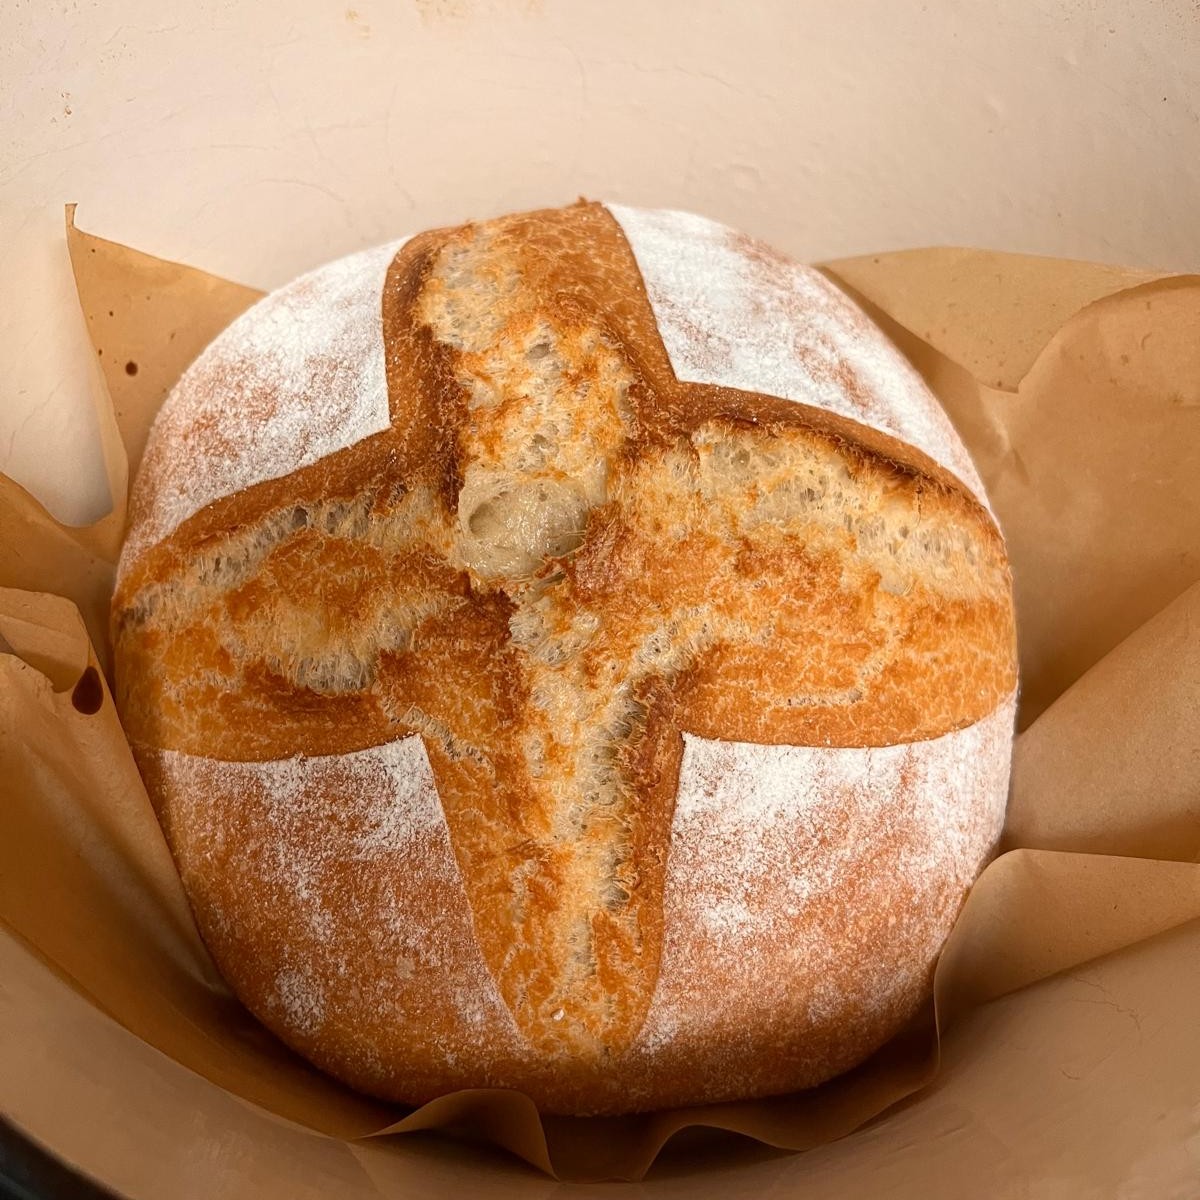
Using a sharp knife or bread lame, score a shallow cross on the surface of the dough—this allows it to expand evenly and develop an attractive pattern as it bakes.
Carefully remove the hot cast iron pot from the oven (it will be extremely hot, so use thick oven mitts). Lift the dough by the edges of the baking paper and lower it gently into the pot. Cover with the lid and return it to the oven.
Bake for 25 minutes with the lid on to keep in the steam, then remove the lid, reduce the oven temperature to 220°C, and bake for a further 5–10 minutes, or until the loaf is a deep golden brown and sounds hollow when tapped on the bottom.
Transfer the loaf to a cooling rack to allow the steam to escape, keeping the crust crisp. Return the lid to the pot and place it back in the oven for 10 minutes to reheat before repeating the process with the second loaf.
5. OPTION 2:
OVEN TRAY + ICE CUBES
Place a baking tray in the oven and preheat to 250°C. Preheating the tray ensures the loaves start baking immediately, helping them rise quickly and evenly.
Cut a piece of baking paper in half. Take one of the bowls of dough and place a sheet of baking paper over the top. Carefully flip the bowl over so the dough gently releases onto the paper, seam-side down. Using a sharp knife or bread lame, score a shallow cross on top to guide the dough as it expands during baking. Repeat the process with the second loaf.
Once the oven is ready, carefully remove the hot tray. Lift each dough ball by the edges of the baking paper and set them gently onto the tray. Immediately drop two ice cubes onto the tray—these will melt and create steam, which helps develop a glossy, crisp crust.
Place the tray on the lower rack of the oven and bake for about 40 minutes, reducing the temperature to 180°C after the first 5 minutes. The bread is ready when the crust is golden brown and the loaf sounds hollow when tapped underneath.
6. COOL AND STORE
Let the baked loaves cool completely on a wire rack. Let the bread cool completely before slicing, ideally for at least an hour. This allows the crust to stay crisp and the inside to finish setting.
Your Bondbröd bread will keep well for 2–3 days at room temperature, stored in a bread bag or airtight container. For longer storage, slice and freeze it for up to 3 months.
Enjoy your freshly baked bread!