Limited time offer: Get your first box free! When signing up for 3, 6 or 12 months. Use code: FIRSTBOX_FREE
CINNAMON BUNS
TOTAL TIME: 2H
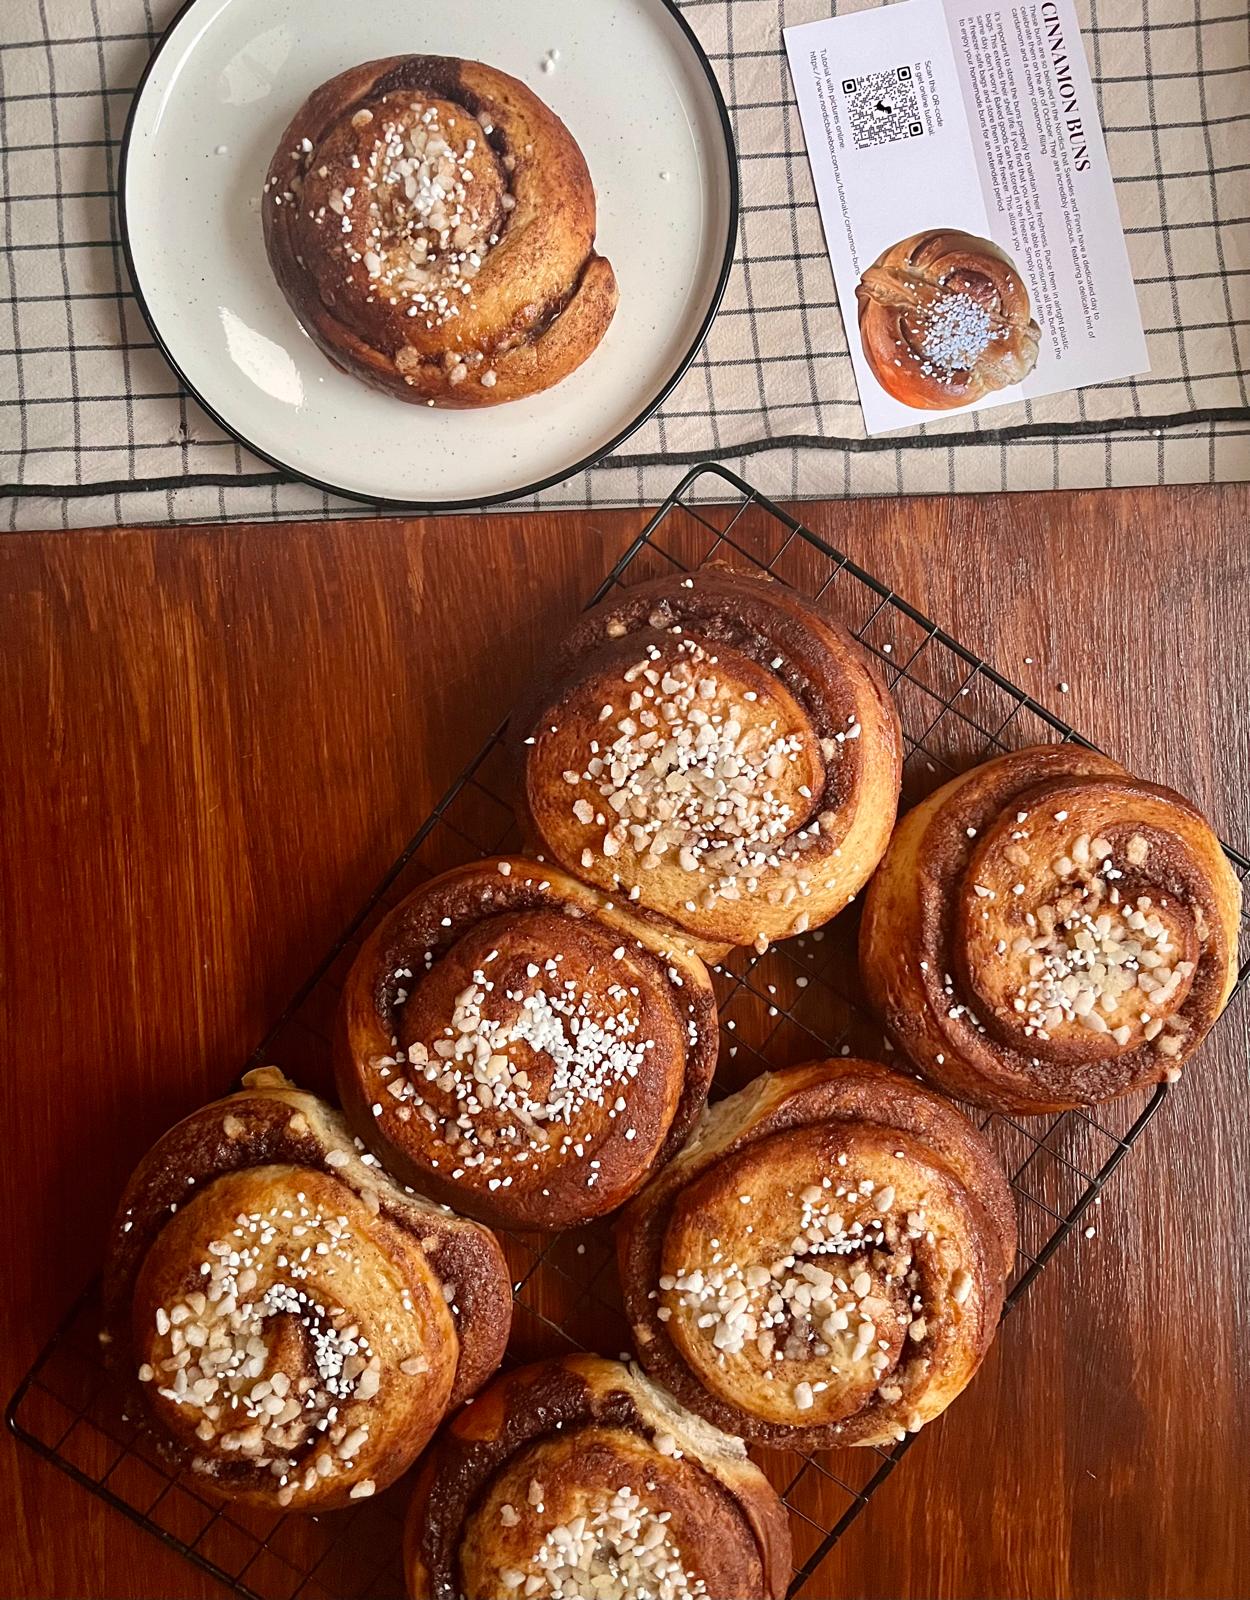
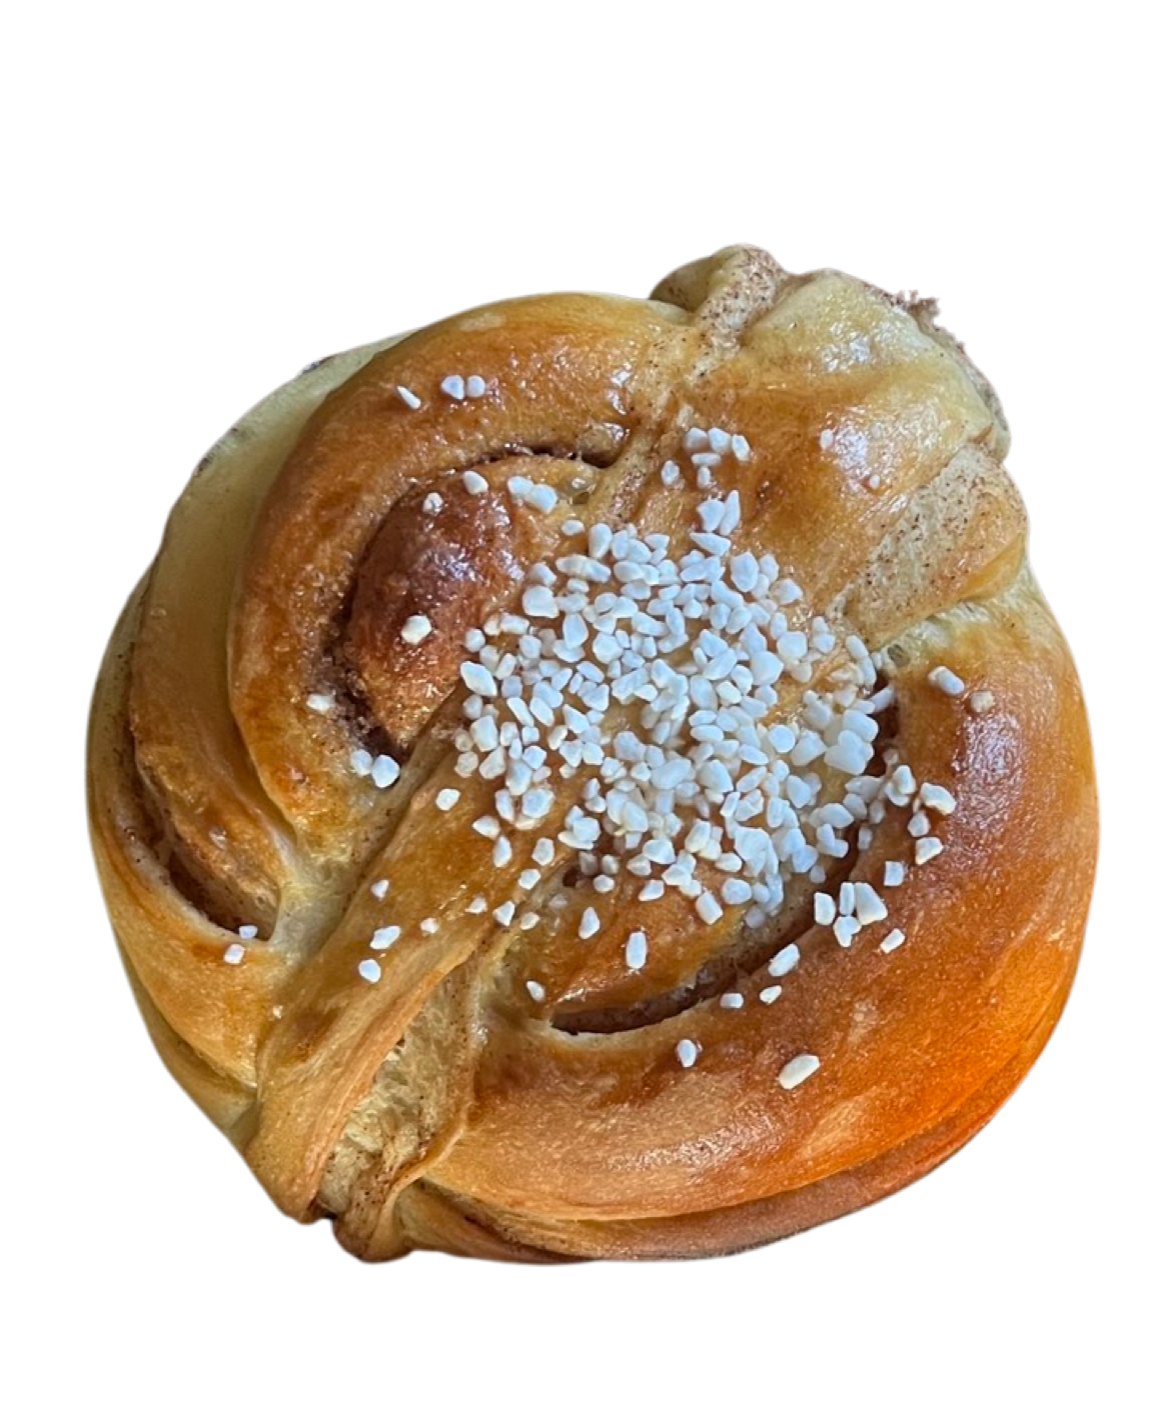
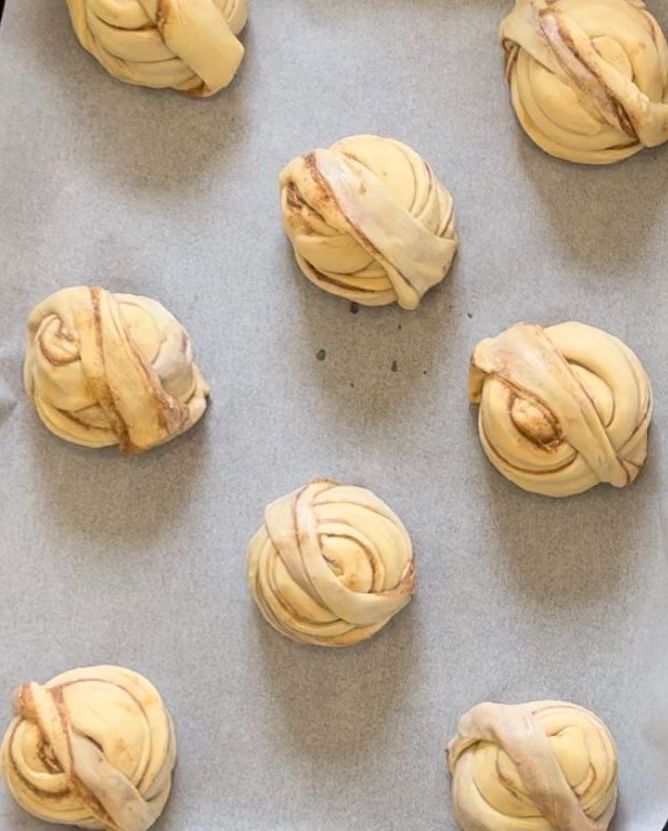
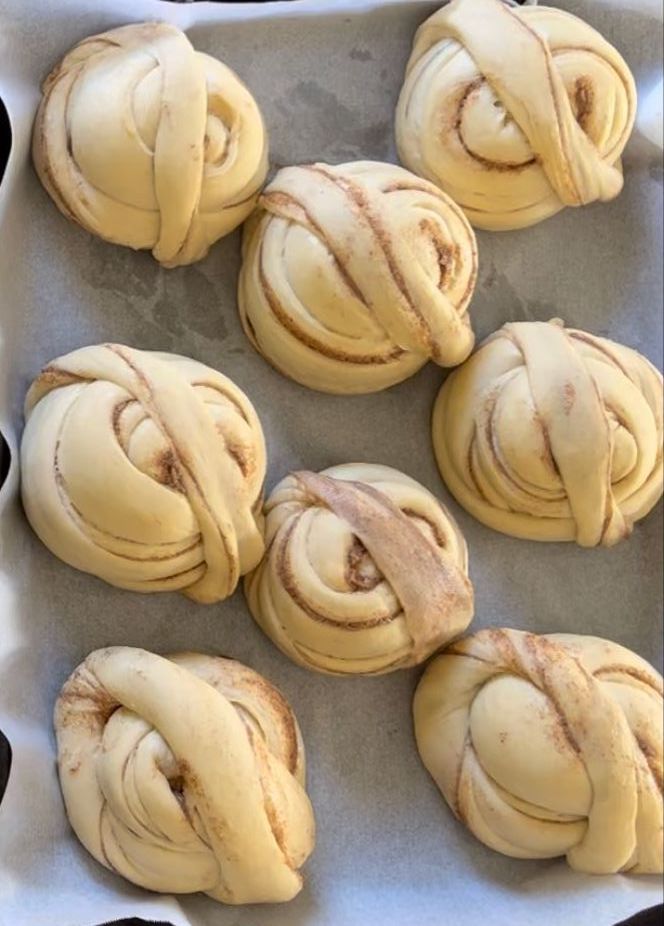
Cinnamon buns can be made either as scrolls or as knots.
Knots are a little more advanced and time-consuming, but they offer the reward of beautifully delicious buns!
Step 3 will show you option 1, how to make scrolls. While steps 4 and 5 describe option 2, how to make the knots.
1. MIX THE INGREDIENTS
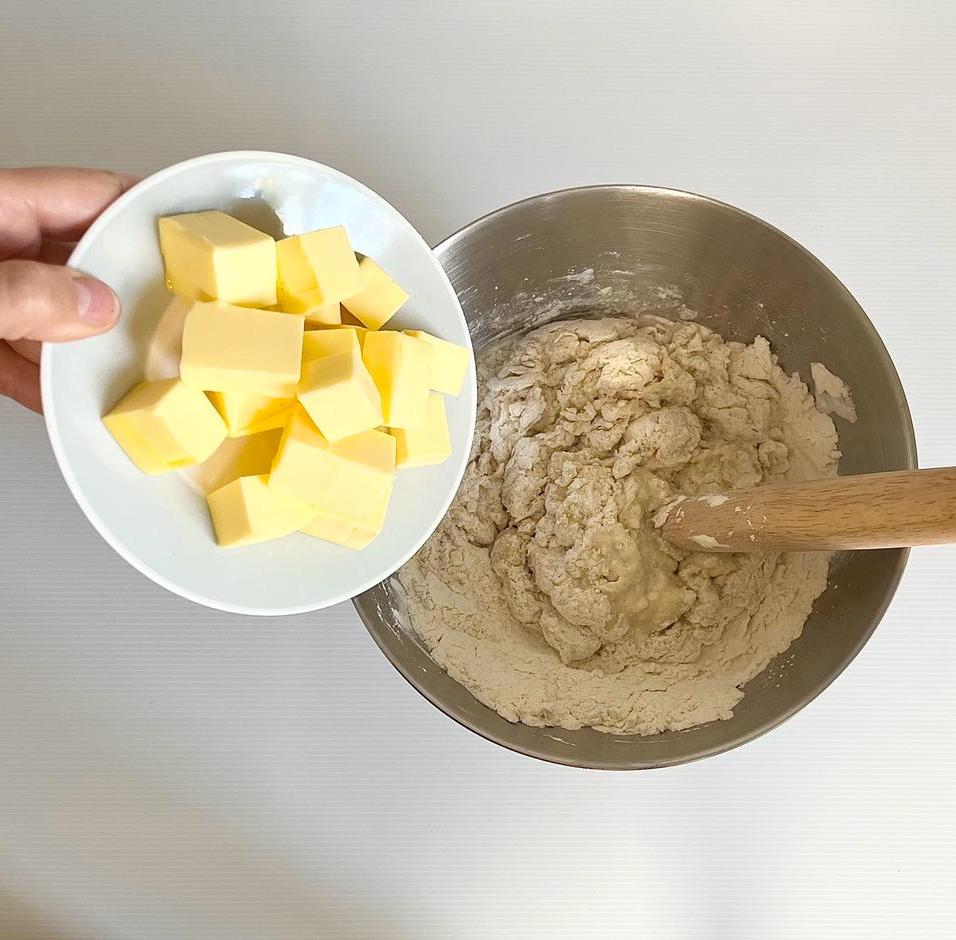
When adding the ingredients, ensure that the milk is lukewarm, but not warmer than that. You can check the temperature by placing your finger in the milk. If it feels room temperature and not hot, it is at the desired temperature. Add the butter last to get a more elastic dough.
2. DO A GLUTEN TEST
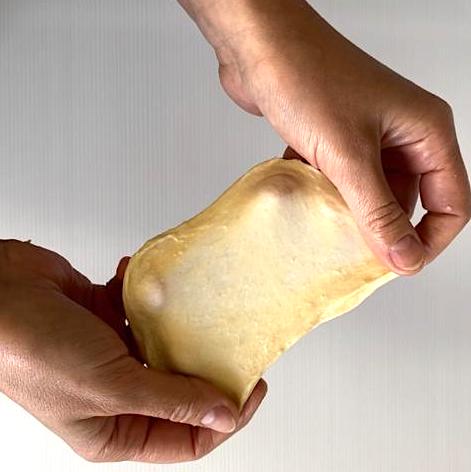
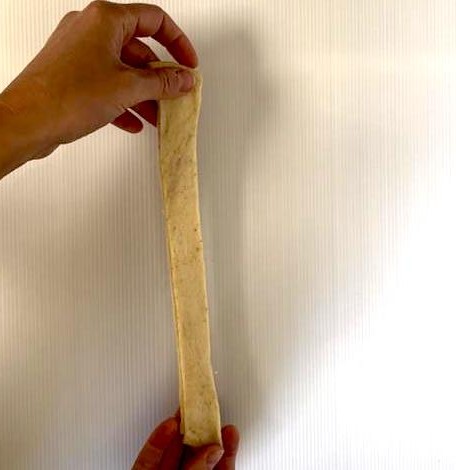
Knead the dough for a good 10 min to make sure gluten threads has formed. To ensure that the dough has achieved the desired consistency and the gluten strands have developed properly, do a gluten test. Take a small portion of the dough and gently stretch it. The dough should exhibit elasticity, appearing thin and fine. You should be able to pull the dough without it breaking. If the dough does break, it indicates that further development is needed. Place the dough back in the mixer (or by hand) and work it for an additional minute to enhance gluten formation.
3. (OPTION 1) CINNAMON ROLLS
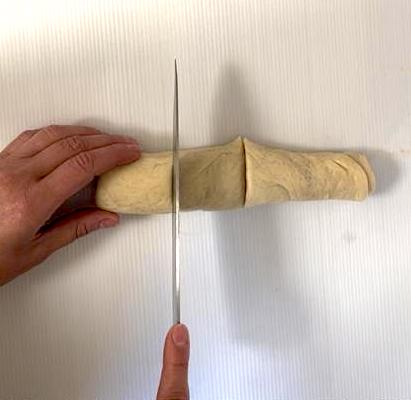
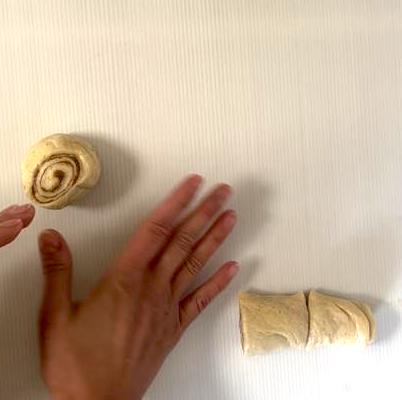
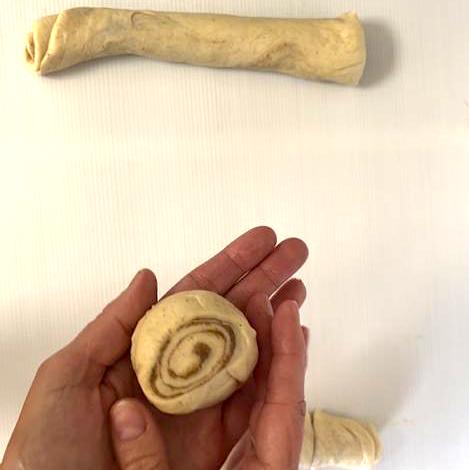
Roll out the dough into a large rectangular shape, approximately 55cm x 35cm, with a thickness of about half a centimeter. Evenly spread the filling across the flattened dough. Starting from the top, tightly roll the dough, folding it over by half a centimeter each time until the entire dough is rolled up into a 35cm long roll. Next, cut the roll in half at the middle point, then proceed to cut each half into 10 equal-sized pieces. Take each piece and place the cut end facing upward on the oven tray, lightly pressing the bun as you position it on the tray. Arrange 10 pieces per oven tray.
4. (OPTION 2) CINNAMON KNOTS
Roll out the dough into a large rectangle shape 50cm x 40cm. Spread the filling evenly across the dough. Fold the dough in half and proceed to cut it into 20 equal pieces. Begin by cutting it in the middle, then continue cutting each half in to 10 equal size pieces.
5. MAKE A KNOT
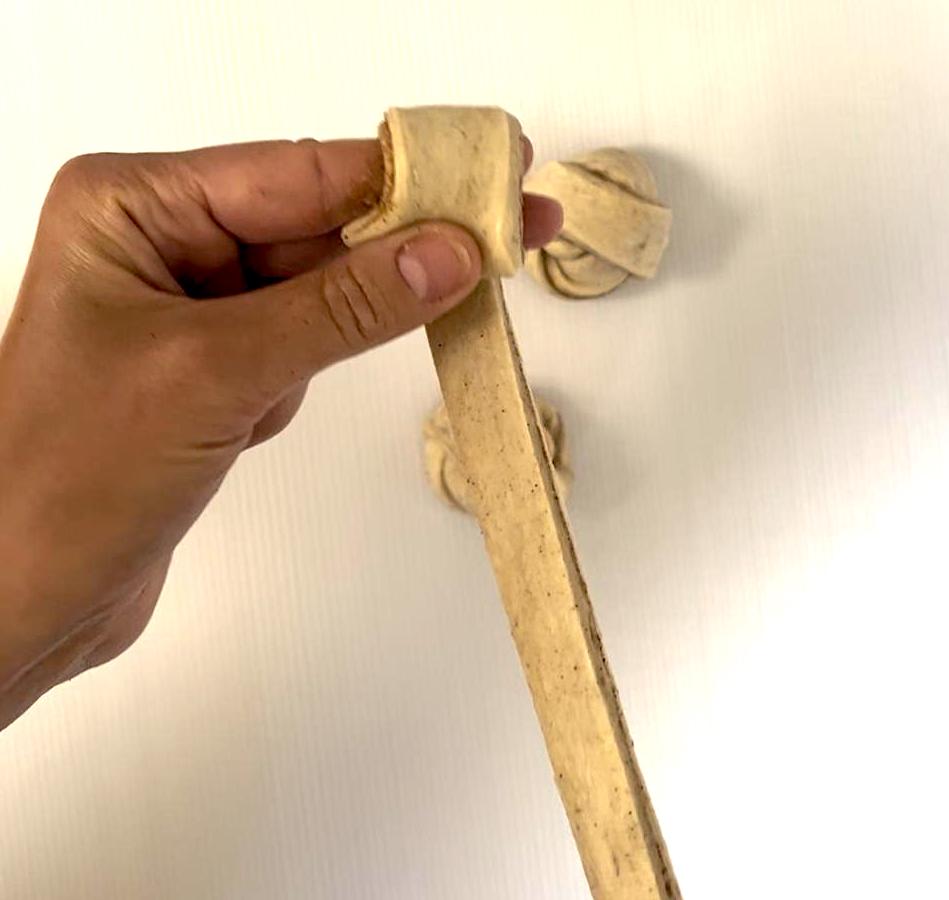
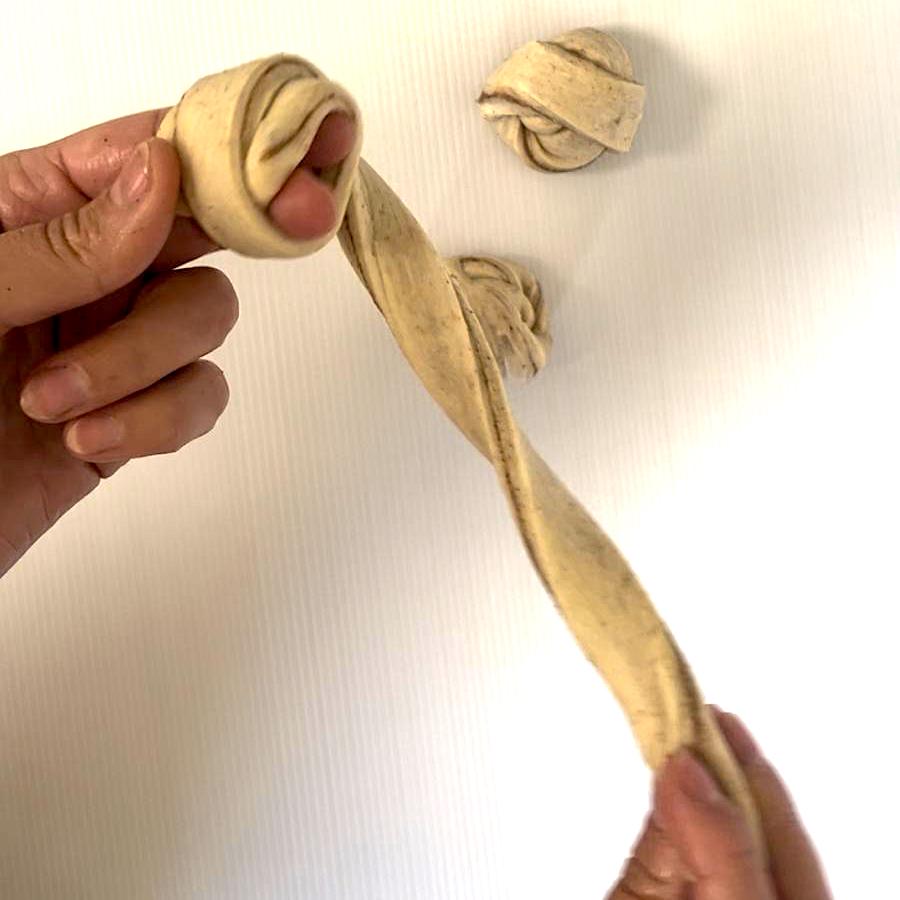
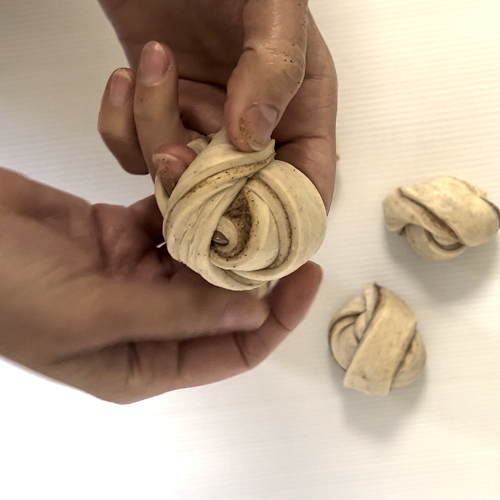
Take a strip and gently stretch it to loosely wrap it around two fingers twice, resembling a knot. Next, loop the remaining dough around the wrapped strip, creating a knot-like shape. Finally, tuck the loose end underneath the knot to secure it.
6. LET THE BUNS REST & RISE
Cover the buns with a clean tea towel and allow them to rise for 1-2 hours. The rising time may vary depending on the temperature in your kitchen. Warmer temperatures will require a shorter rise, while cooler temperatures may require a bit more time. The buns are ready when they have nearly doubled in size.
For an accelerated bun rising process, try this technique:
1.Place the buns inside a cold oven.
2. Position a small bowl containing one (1) cup of boiling water at the bottom of the oven.
3. Close the oven door to seal it shut.
This method creates a warm, humid environment, which facilitates quicker and more efficient bun rising.
7. BAKE
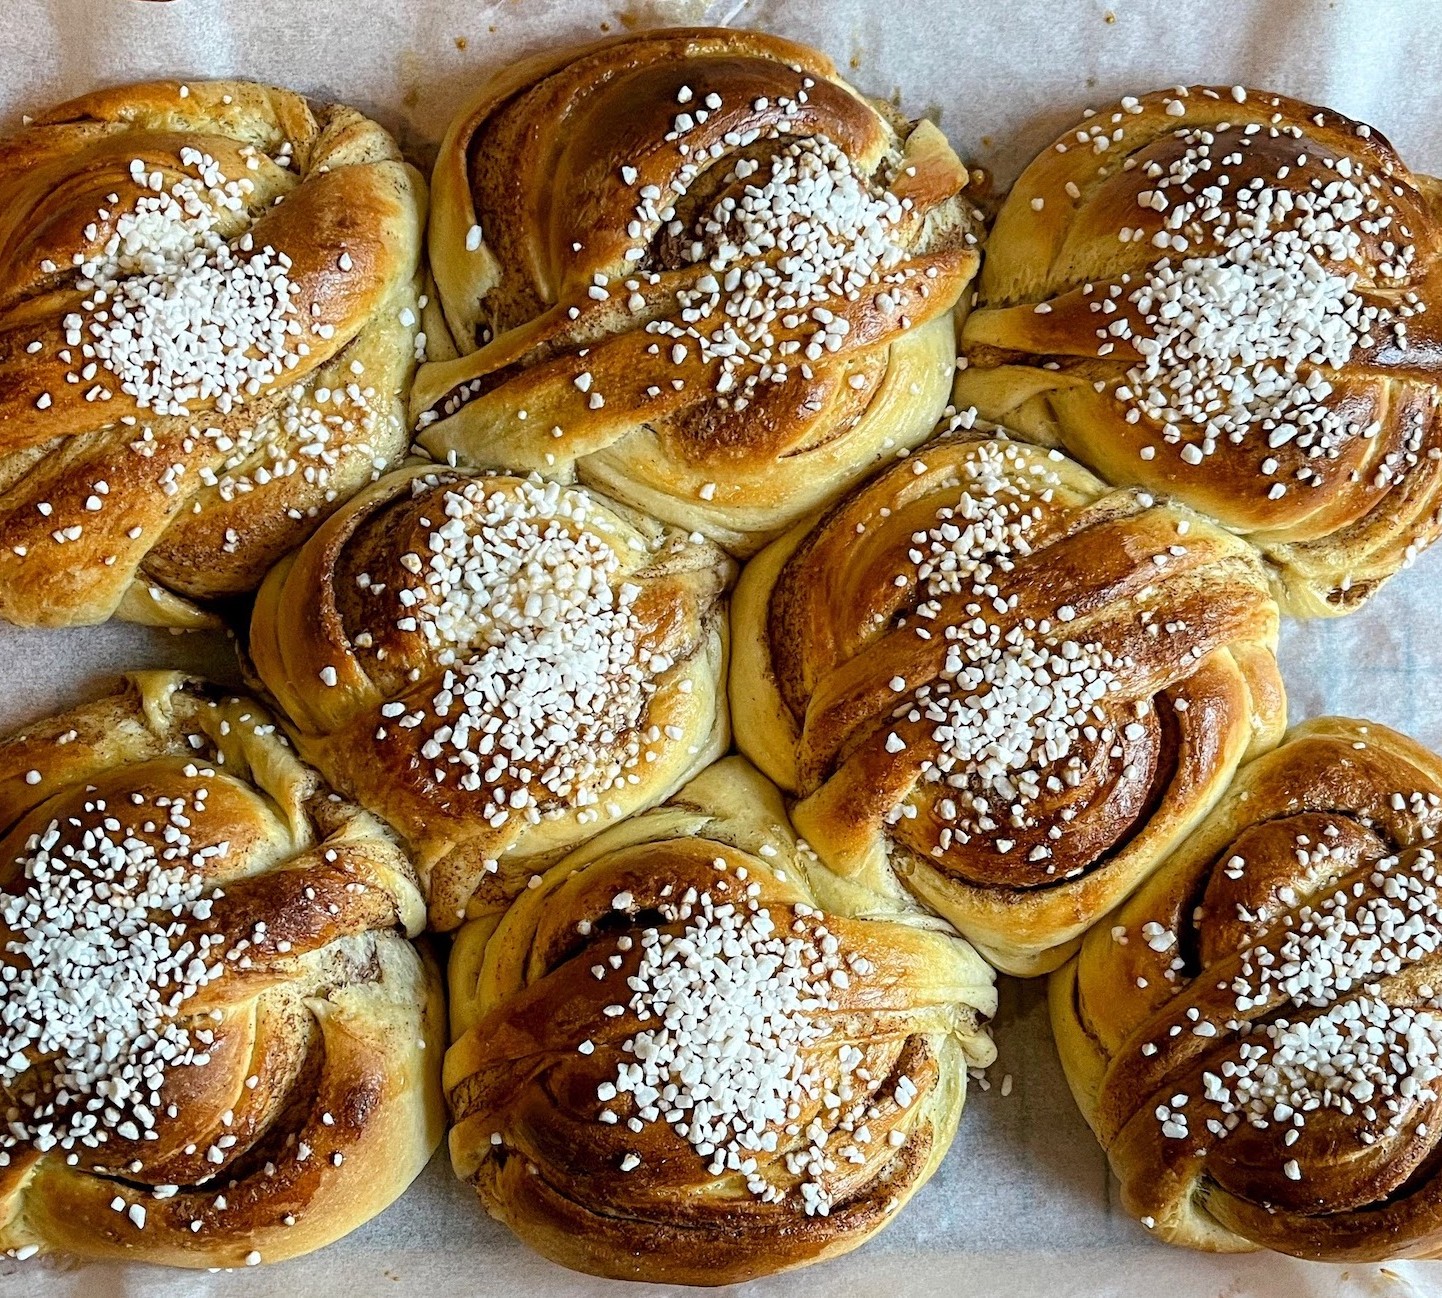
Whisk the egg with a little water and a pinch of salt to ensure the egg dissolves smoothly, preventing any lumps on our buns. Lightly brush the buns with the egg mixture, taking care not to apply too much pressure. Sprinkle pearl sugar generously on each bun. Place the buns in the middle of a conventional oven at 225°C or a fan-forced oven at 200°C. Bake for 8-15 minutes or until the buns turn golden in color. Remember to monitor the buns closely to prevent them from burning.
8. OPTIONAL STEP: GLAZE BUNS WITH SUGAR SYRUP
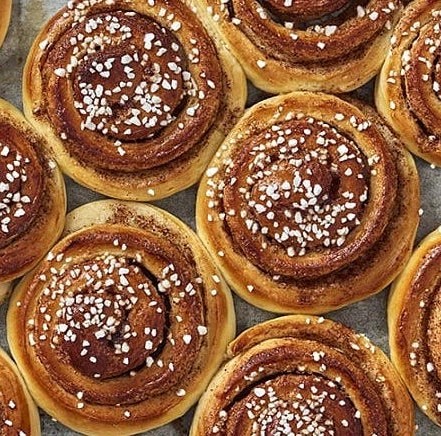
If you don't mind the buns getting a little sweeter and want them to last longer with a nice shine, then you should brush them with some sugar syrup after they have been in the oven. This will help capture the moisture of the buns, keeping them nice and soft for a longer period.
Sugar Syrup:
Mix 150 g of water with 95 g of sugar, and heat it up in the microwave or in a pot on the stove until the sugar crystals dissolve and then it's ready to use!
STORAGE INSTRUCTIONS
After your buns has cooled, it's important to store it properly to maintain its freshness. We recommend placing them in airtight plastic bags or food storage containers.
This extends its shelf life. If you find that you won't be able to consume all the buns on the same day, don't worry! Baked goods can be stored in the freezer. Simply put your items in freezer-safe bags, and store them in the freezer. This allows you to enjoy your homemade buns for an extended period.
