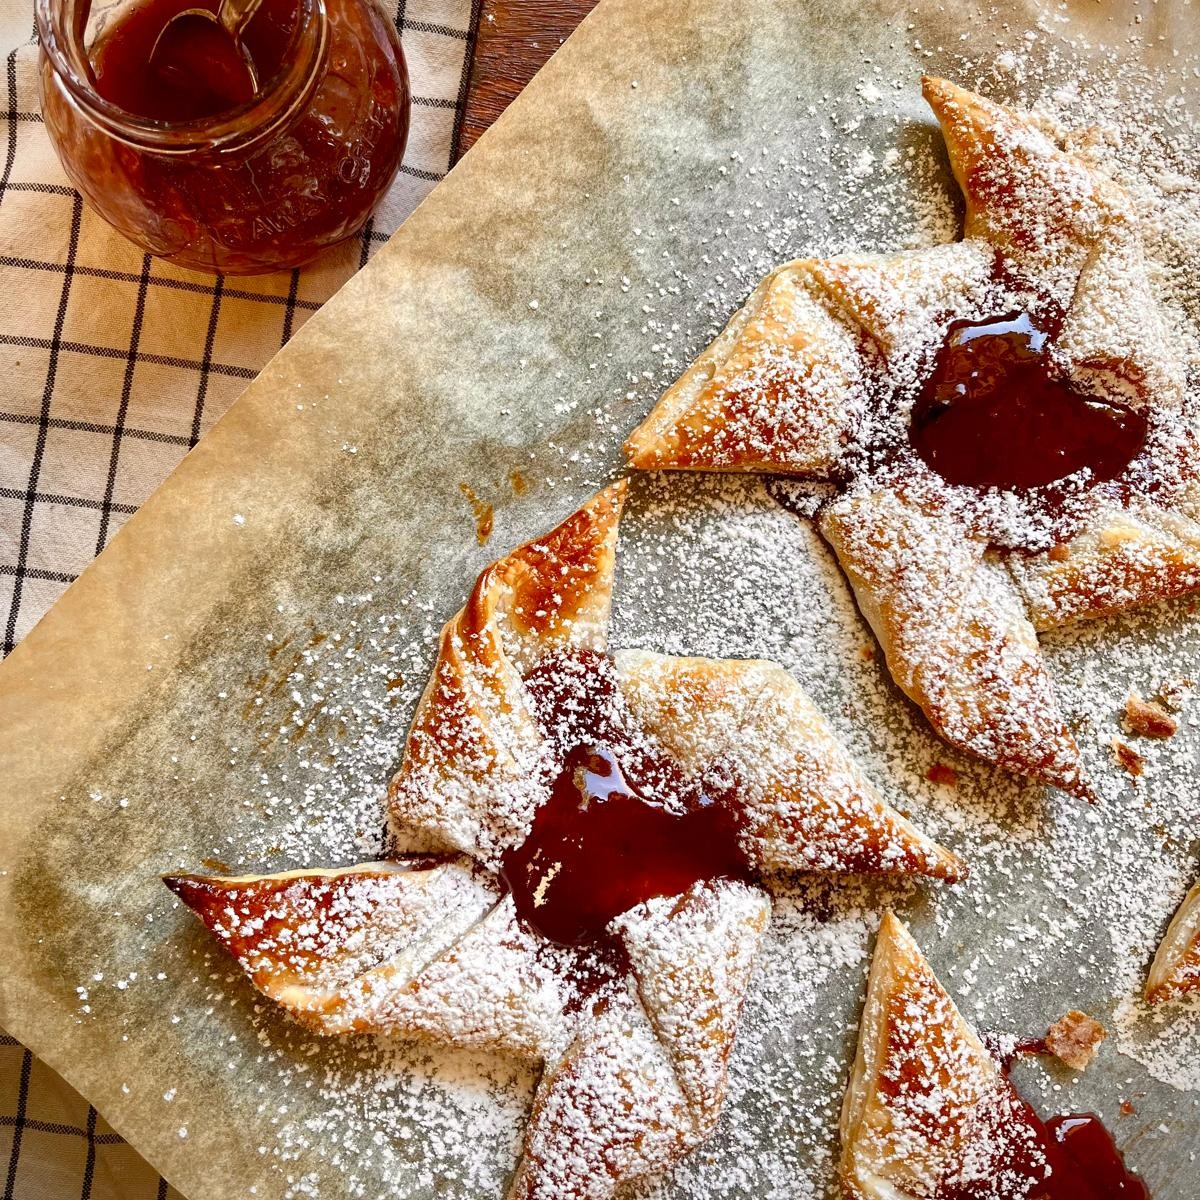
JAM STARS
TOTAL TIME: 2H
Joulutorttu -Finnish jam starsFinnish jam stars are flaky and sweet, wonderfully delicious for Christmas. These delightful star-shaped pastries are made with buttery, flaky puff pastry and filled with jam, creating a perfect balance of rich and tangy flavours. A festive favourite in Finland, they’re the perfect treat for the holiday season or any special occasion.
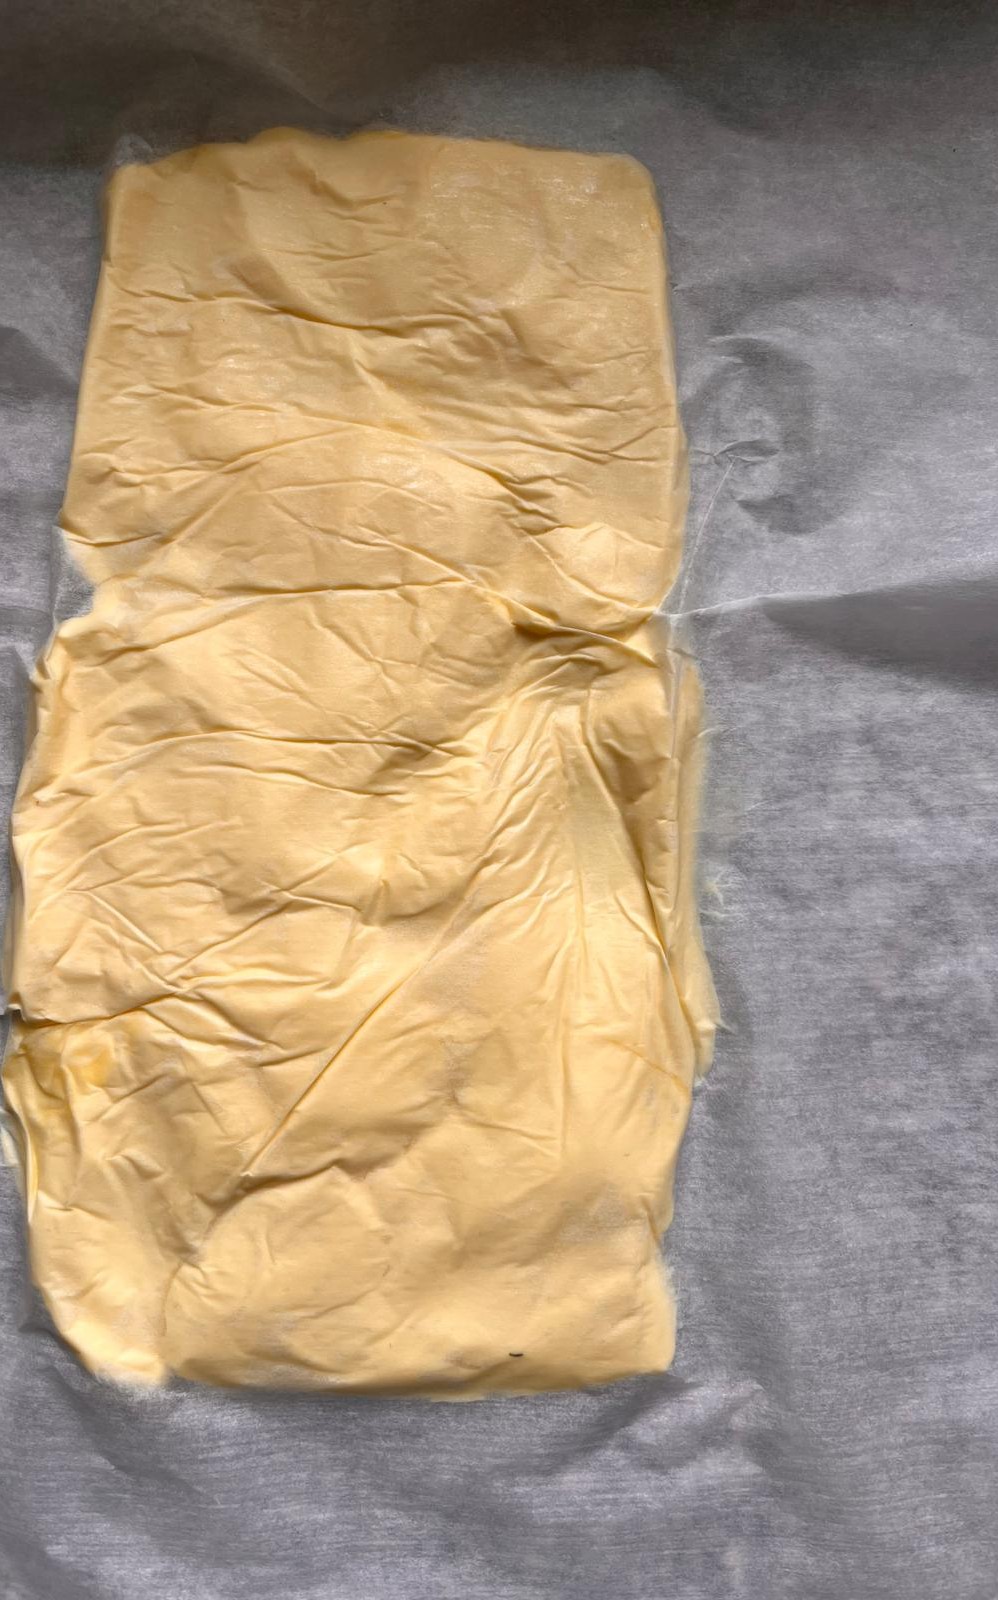
2. PREPP THE BUTTER
Cut 150g of butter into 3 equal slices and sandwich them between two sheets of baking paper. Flatten the slices gently and cut them in half to make 2 equal squares. Chill these in the fridge.
Tip: You can use your rolling pin to gently flat the butter out to one flat piece between the baking papers.
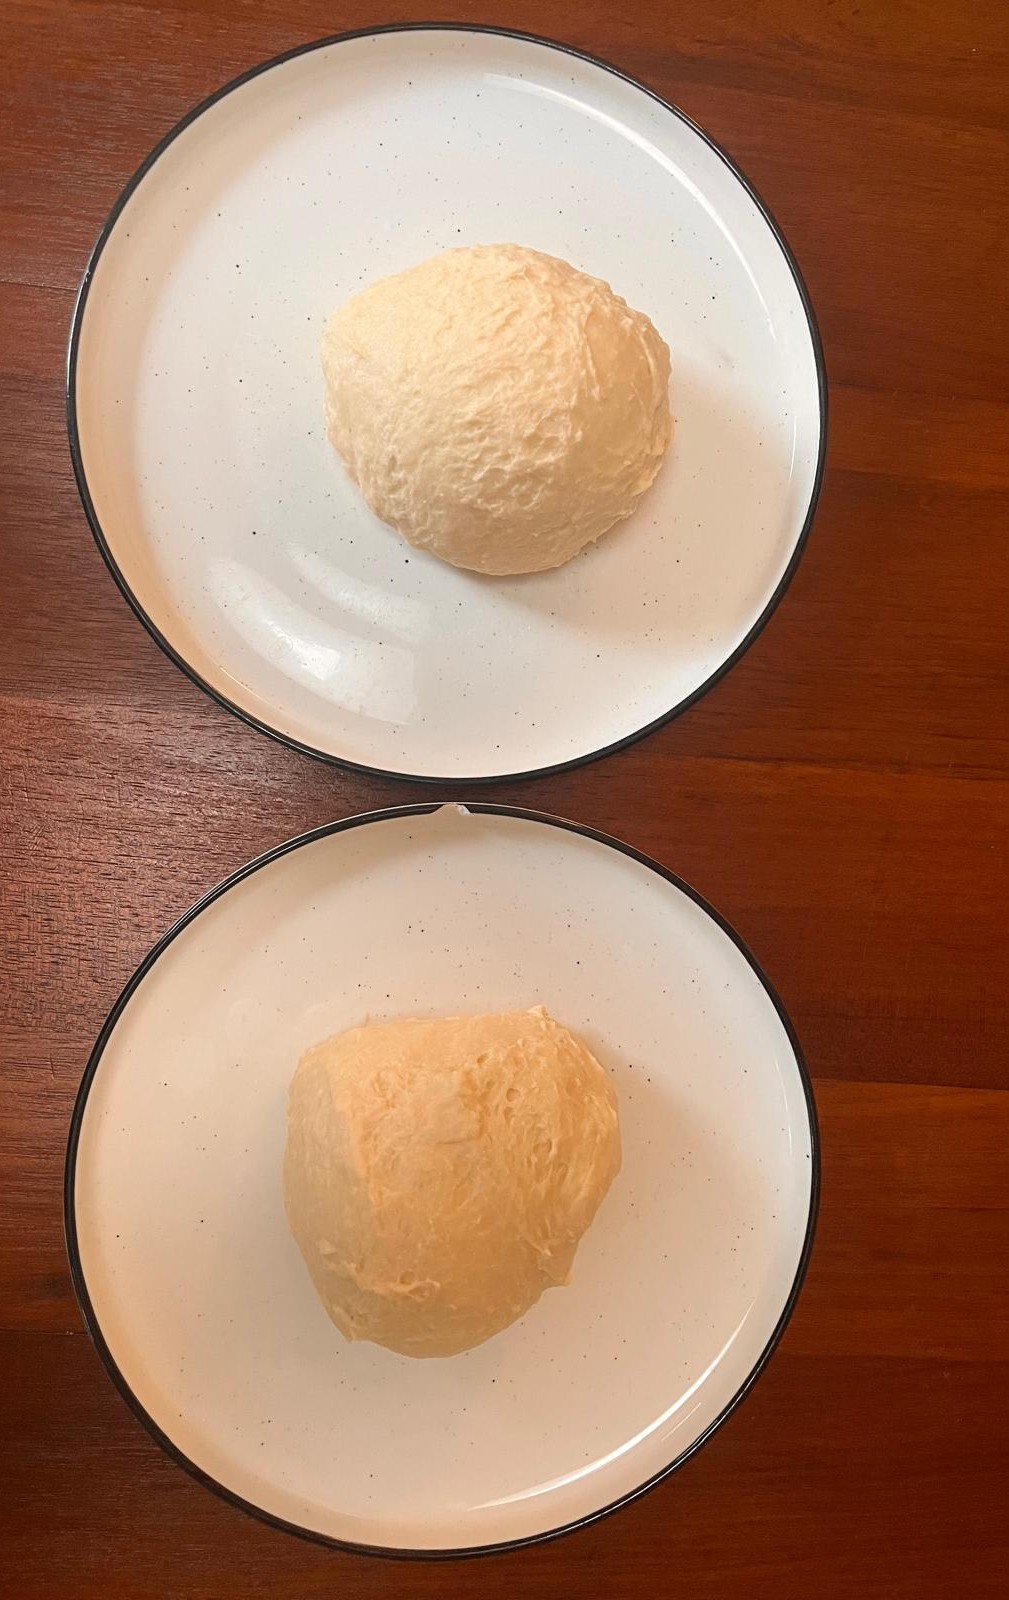
3. MAKE THE DOUGH & CHILL
In a large bowl, combine the contents of Bag a with 180ml of cold milk and the cold egg from the fridge. Add Bag b and mix for 5 minutes by hand or mixer until a soft dough forms.
Divide the dough into 2 equal portions. Place each piece on a plate, cover with plastic wrap or a tea towel, and chill in the fridge for 10 minutes.
Tip: Chilling the dough keeps it from rising to fast, to enable the times for folding.
Letting it rest helps it relax the gluten, making it easier to roll out and easier to stretch.


4. FIRST FOLD
Lightly flour your surface using Bag f (extra flour). Take out one dough piece from the fridge and roll it into a rectangle about 30 × 20 cm.
Place one square of chilled butter in the centre. Fold the short ends of the dough over the butter so they meet in the middle, then fold the long ends over the top like an envelope.
Rotate the dough a quarter turn and roll it out again to 30 × 20 cm. Fold one third of the dough toward the centre, then fold the remaining third over it—just like folding a letter.
Place the folded dough in the fridge. Repeat this process with the second dough piece.
Chill both folded doughs for 10 minutes.


5. SECOND & THIRD FOLD
Take one dough, and rotate it a quarter from how you had it before. So that the folded "seam" is placed to the left of you and roll it out to 30 × 20 cm again. Do another letter-style three-fold and return it to the fridge.
Repeat with the second dough.
Chill both doughs again for 5 minutes, then repeat this step and do one final fold, before moving on to shaping.
Tip: These folds create the pastry’s signature flaky layers. You have now done 3 x 3 x 3 layers, which gives 27 layers, the traditional amount of layers on a danish.


6. ROLL OUT THE DOUGH
Take one piece of dough and use a rolling pin to gently roll it into a rectangle about 16×40 cm. Try to keep it even in thickness so all squares bake at the same rate.
Cut the dough: First, cut the rectangle lengthwise down the middle—this gives you two long strips, each 8 cm wide.
Then cut each strip into 5 squares along the width. You’ll now have 10 squares that are roughly 8×8 cm each.
Adjust the shape: If any squares look slightly uneven, just gently roll them with the rolling pin to tidy them up so they’re nice, neat squares.
Repeat: Do the same with the second piece of dough so you end up with 20 squares in total.
Tip: If you want to save them for another day. Maybe have for brekkie? You can!
Unbaked Dough: Shape the stars and place them on a tray that fits in your freezer. Once frozen, transfer them to a freezer bag.Thaw the shaped pastries on a baking tray for about one hour before baking.


7. FORM THE STAR SHAPE
Preheat the oven: Make sure your oven is fully preheated to 200°C (or 180°C fan-forced). This ensures the pastries bake evenly and get that golden, flaky texture.
Cut the squares: Take one dough square and make a diagonal cut from each corner toward the center, stopping about 1 cm from the middle. This leaves small flaps you’ll fold to create the star shape.
Fold one corner of each flap gently into the center. Repeat with all four corners so your square becomes a neat star. Make sure the folds are even so the stars bake uniformly.
Transfer to baking tray: Place each star on a baking tray lined with baking paper to prevent sticking.
Proof the dough: Cover loosely with plastic wrap and let the stars proof for 1 hour at room temperature. This allows the dough to rise and become light and airy.
Tip: Keep an eye on them—oven times vary. They’re done when golden and light brown.


8. BAKE
In a small bowl, beat together 1 egg and a splash of water. Brush the top of each star with the egg wash. Gently press in the middle of each star to make a light dent then add a tsp of jam in the center.
Bake for 12-15 minutes, or until golden and puffed. Keep an eye on them — they brown quickly at the end! Allow them too cool, then dust them with icing sugar from bag e and then add another tsp of jam in the middle of each one. Voila! You are done!
Tip: These are best eaten the same day, but they also freeze well (the will keep for 3 months in the freezer).
Freeze the stars before adding icing sugar and second layer of jam, warm them in the oven (or airfryer) at about 180 °C for a few minutes until they become crisp again.
