LIMPA BREAD
TOTAL TIME: 1.5H
Baking your own bread is far superior to the ones you buy in the shop. It is both healthier and tastier as it doesn't contain any nasty preservatives.
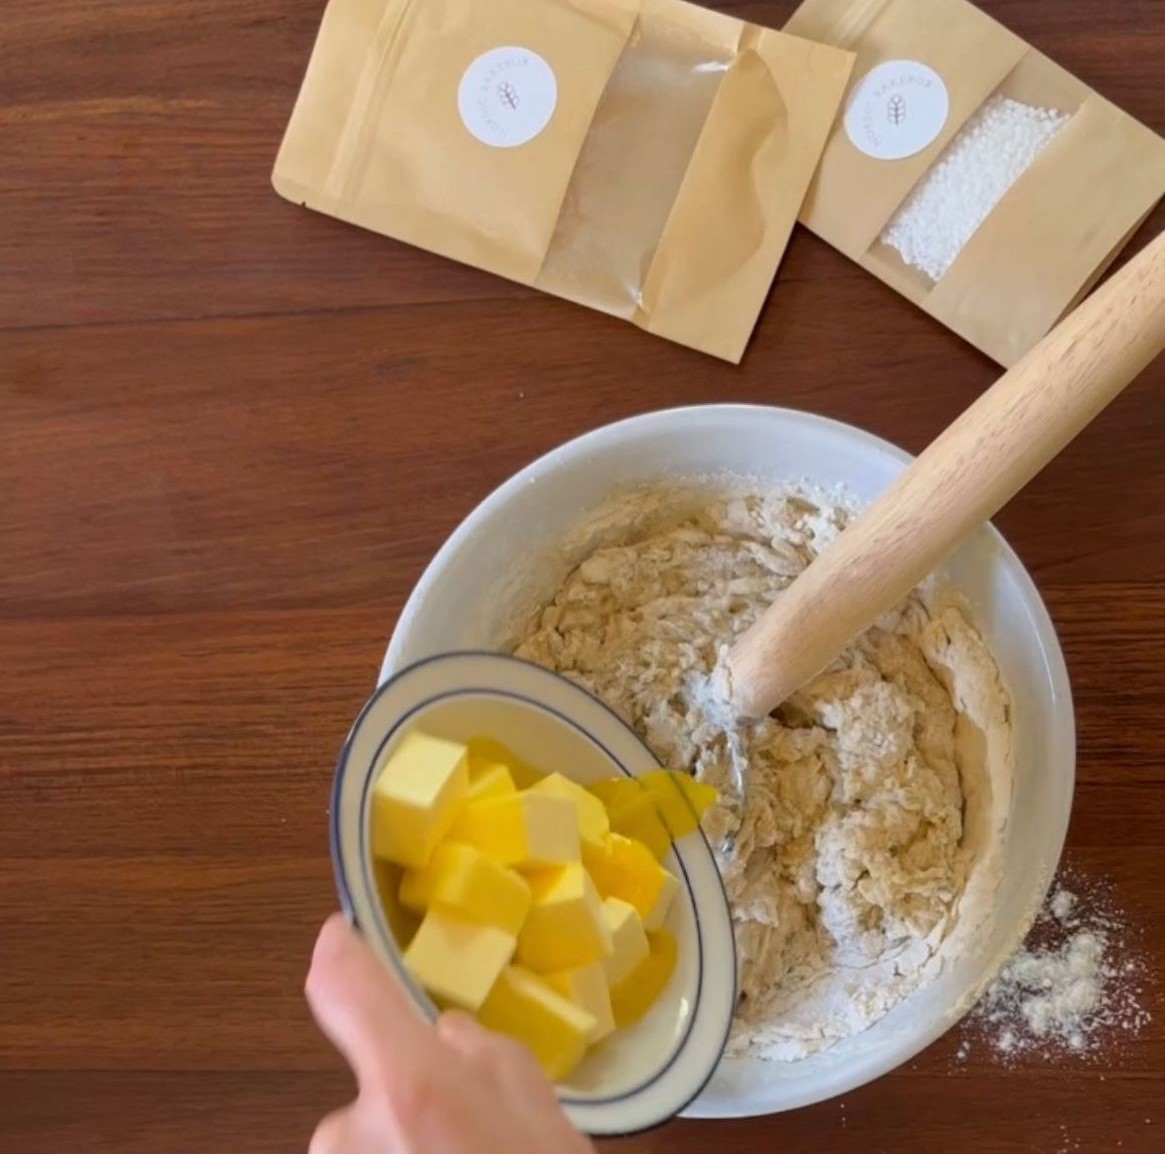
1. MIX THE INGREDIENTS
When adding the ingredients, ensure that the milk and water is lukewarm, but not warmer than that. You can check the temperature by placing your finger in the milk. If it feels room temperature and not hot, it is at the desired temperature. Add the butter last to get a more elastic dough.
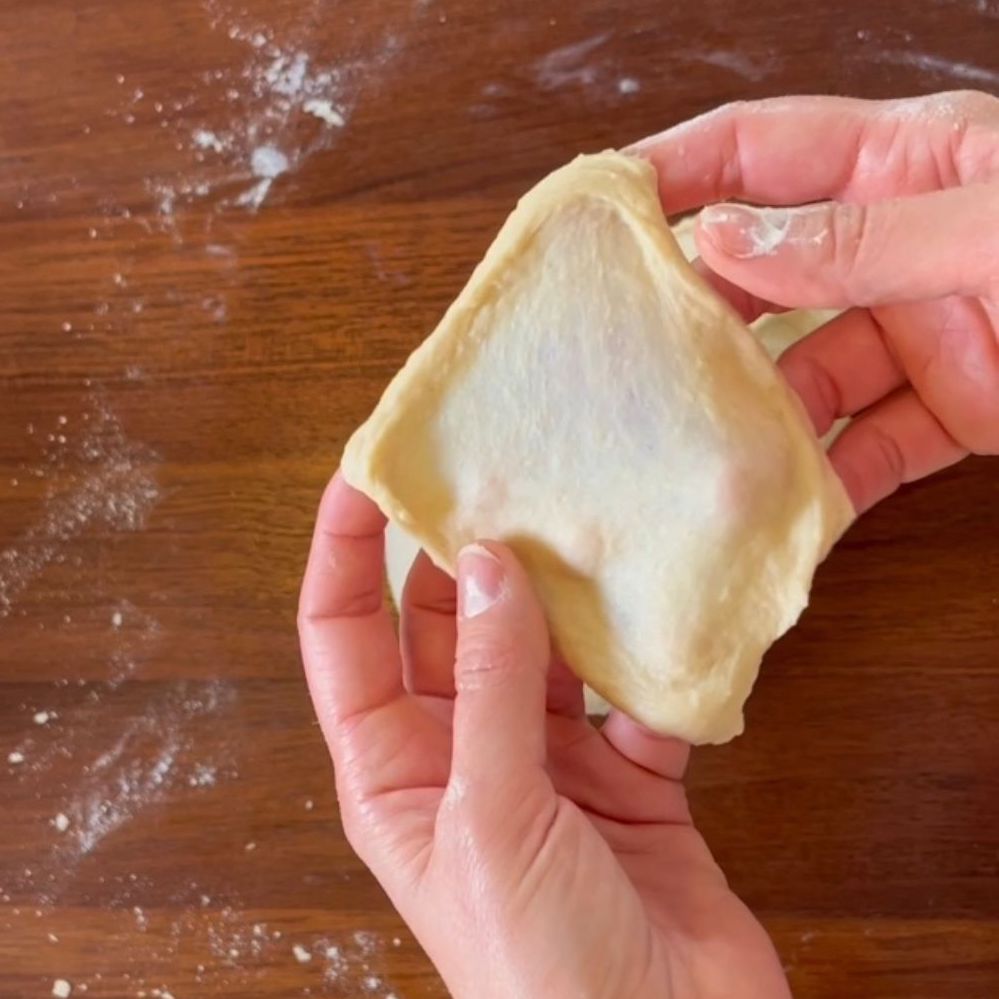
2. DO A GLUTEN TEST
Knead the dough for a good 10 min to make sure gluten threads has formed. To ensure that the dough has achieved the desired consistency and the gluten strands have developed properly, do a gluten test. Take a small portion of the dough and gently stretch it. The dough should exhibit elasticity, appearing thin and fine. You should be able to pull the dough without it breaking. If the dough does break, it indicates that further development is needed. Place the dough back in the mixer (or by hand) and work it for an additional minute to enhance gluten formation.
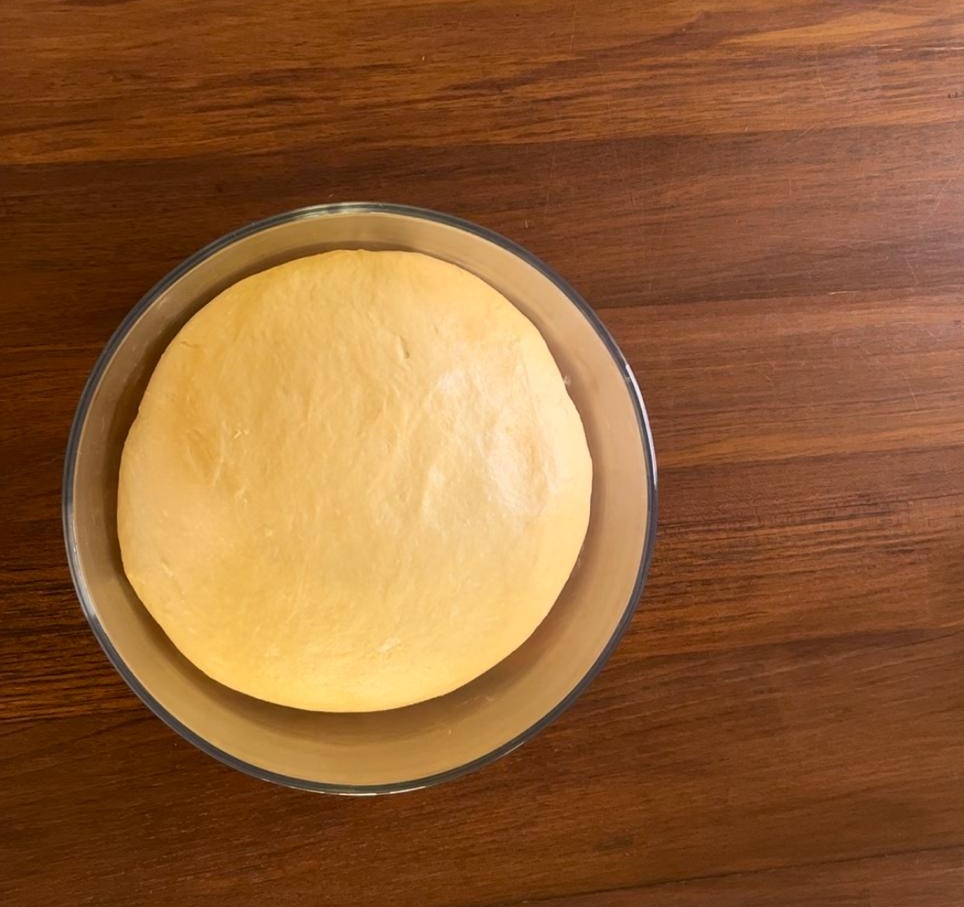
3. LET THE DOUGH REST
Cover the dough with a clean tea towel and allow it to rise for about 30 min. The rising time may vary depending on the temperature in your kitchen. Warmer temperatures will require a shorter rise, while cooler temperatures may require a bit more time. The dough is ready when it have nearly doubled in size.
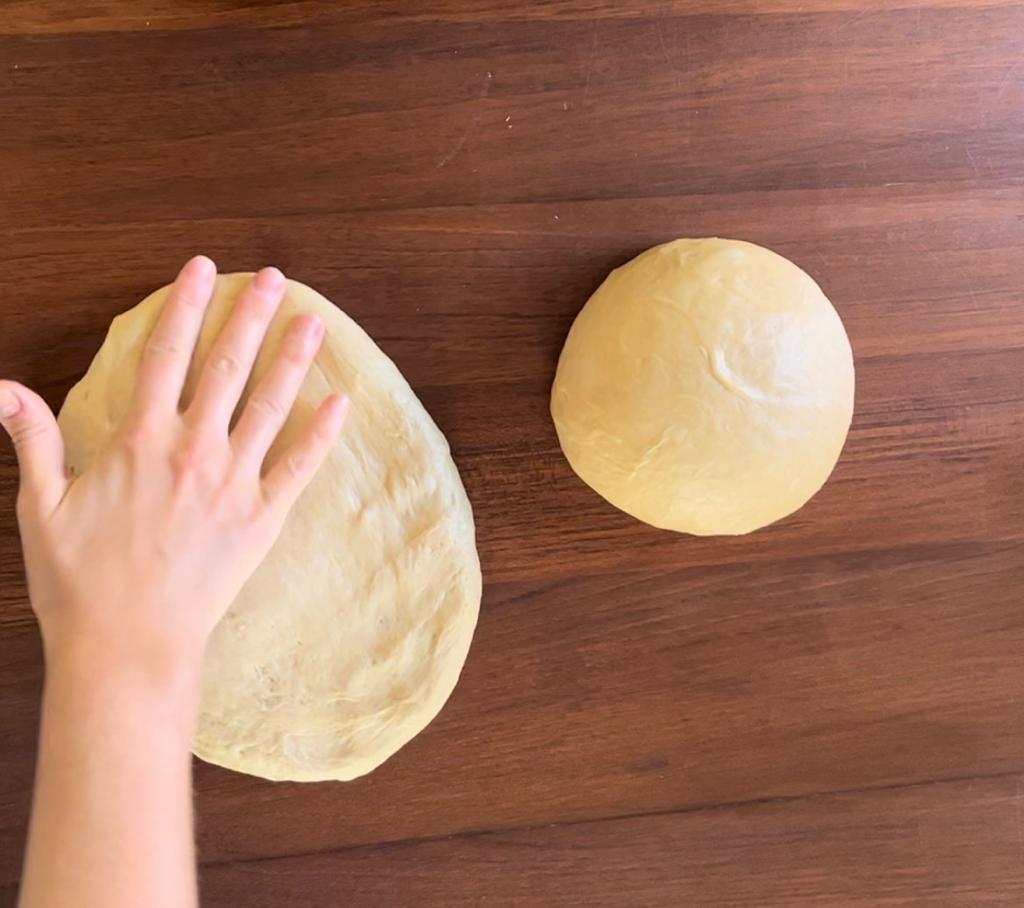
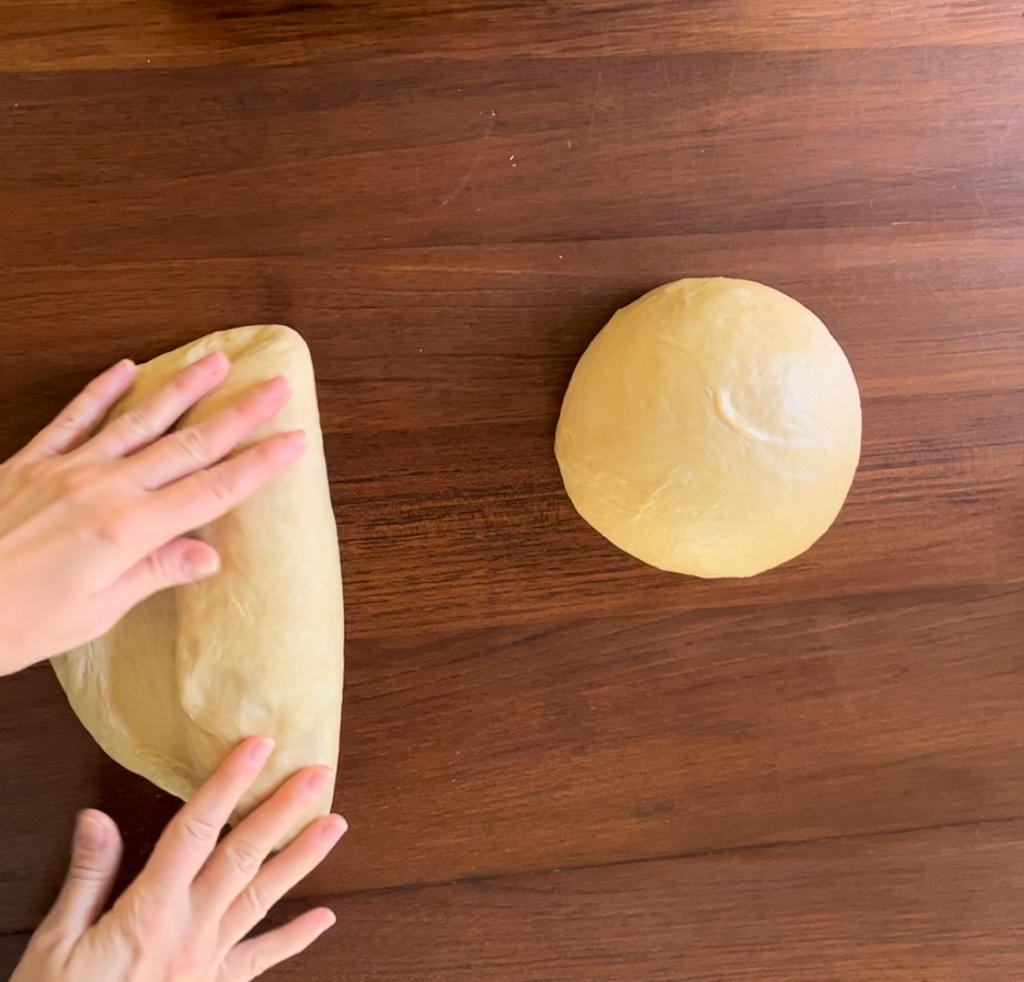
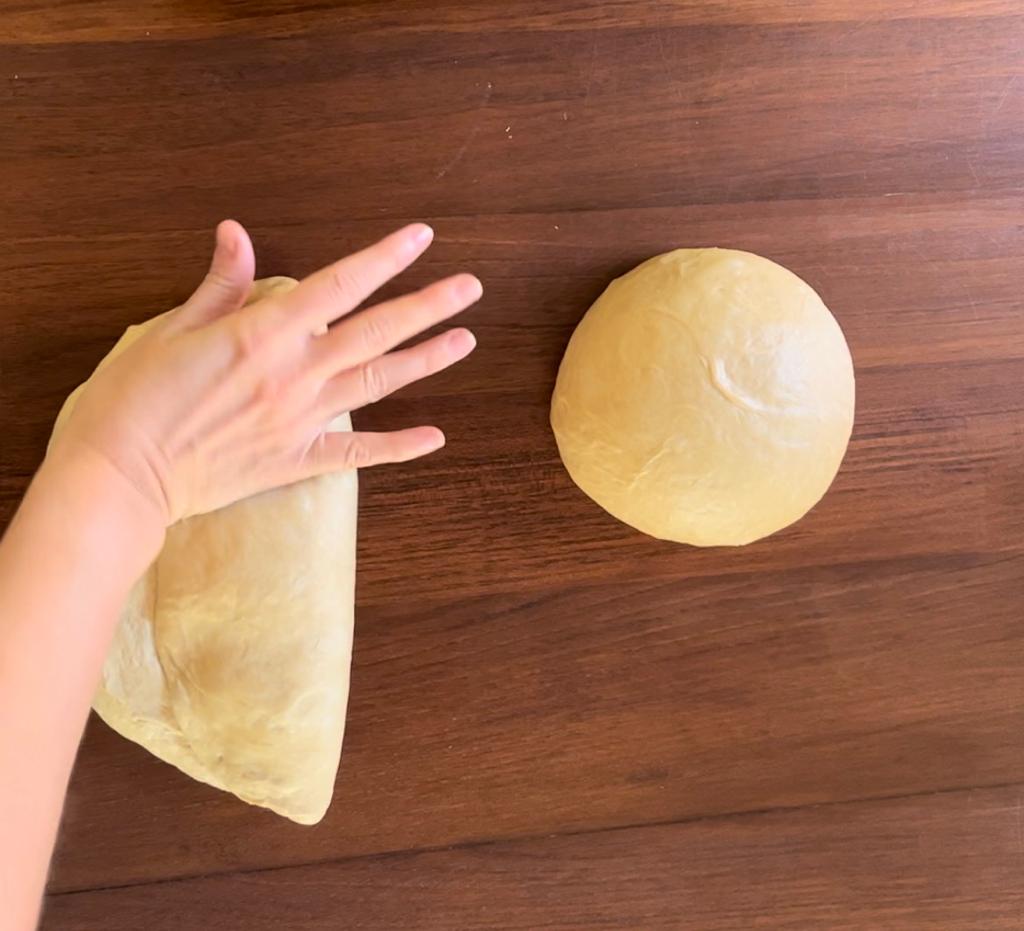
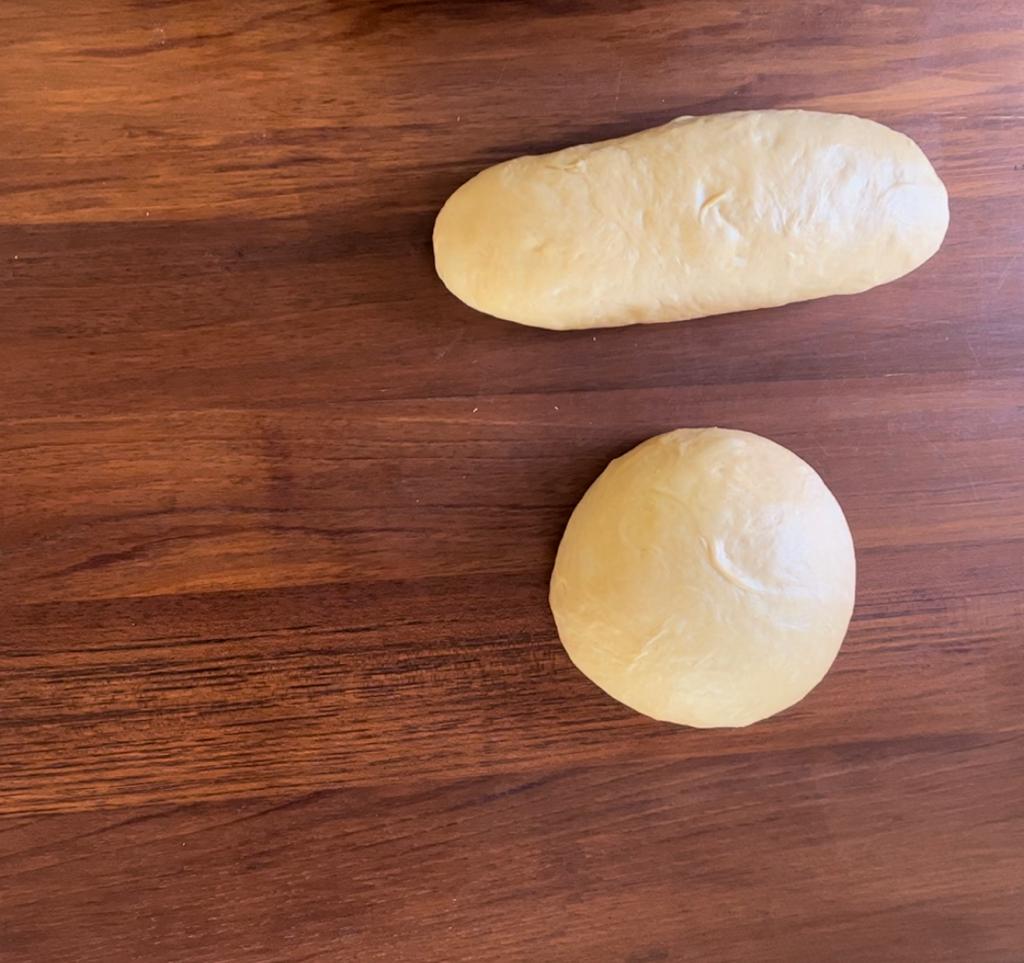
4. DIVDE DOUGH IN TWO
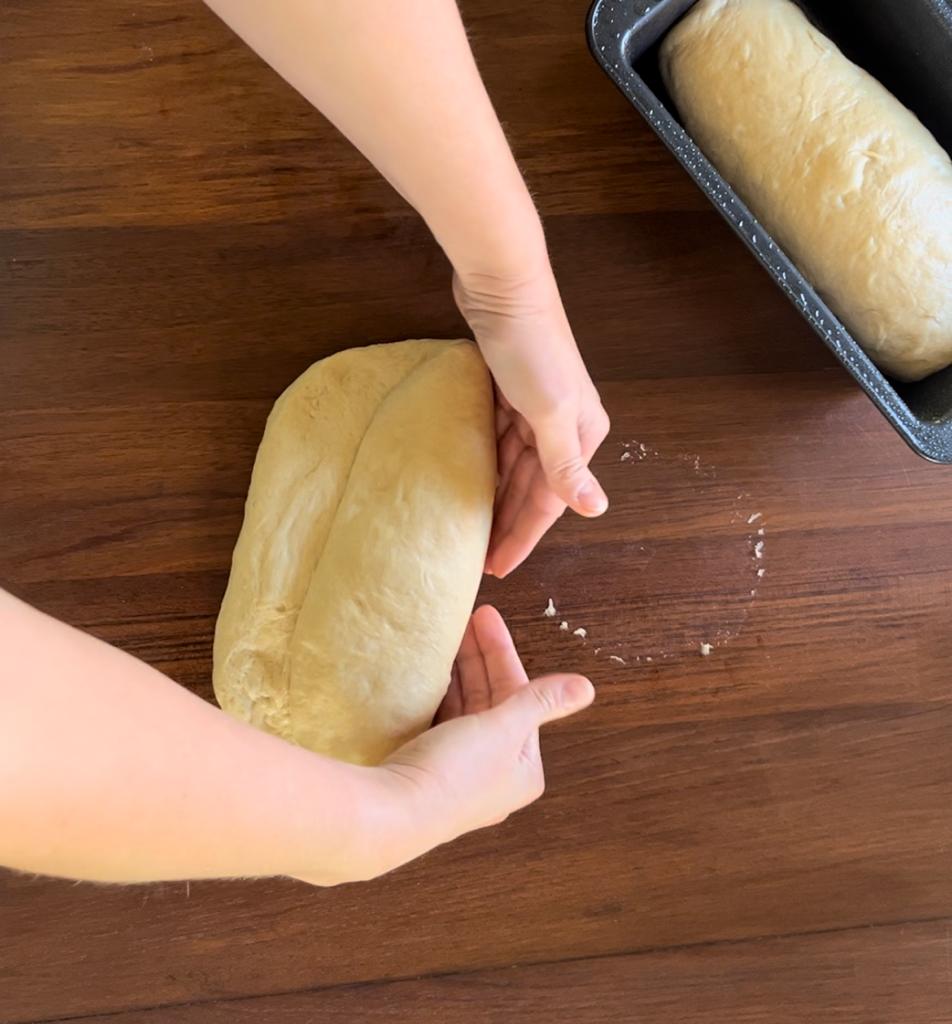
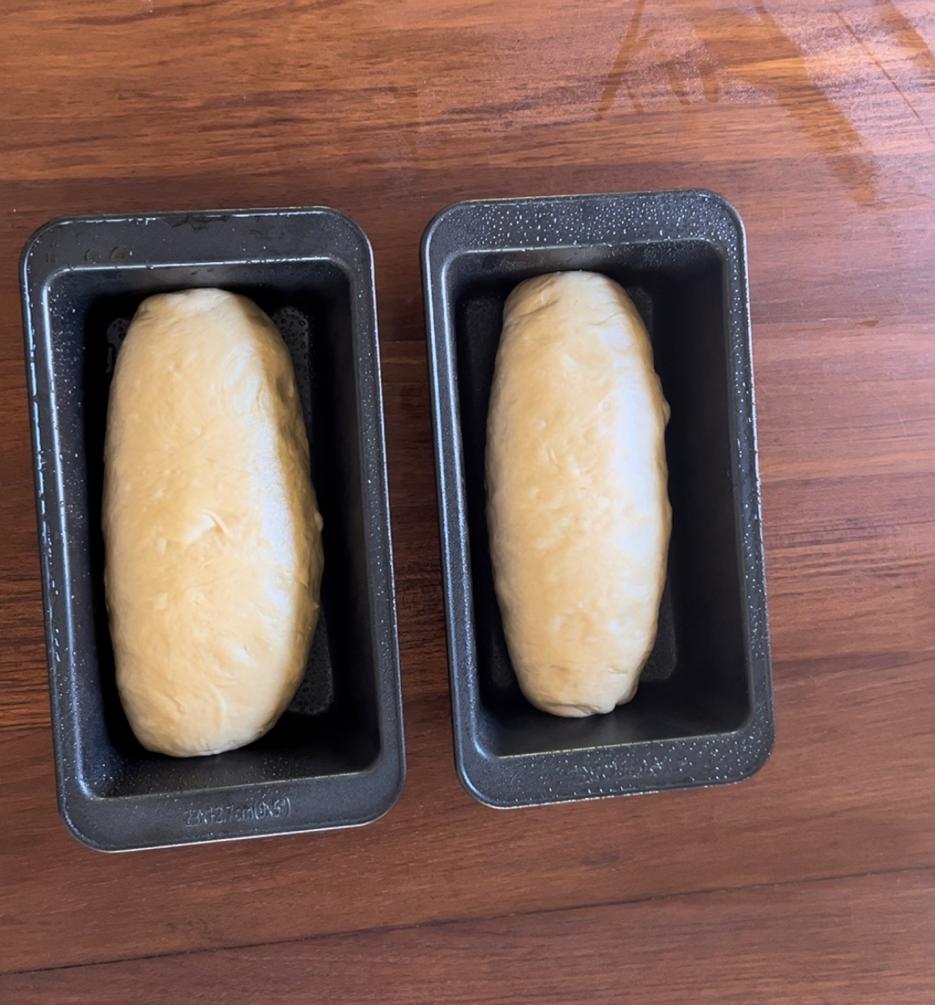
Pour out a little flour on the kitchen bench and put the dough on it. Divide the dough into two parts to make two loaves. Do this by rolling each half of the dough into a ball, then carefully flatten it with the palm of your hand, and fold one half towards the middle and then fold over the other half. Roll them out a little if needed so that they are the same length as the loaf pan. Grease the pans with a little oil and place the loaves in them. If you don't have loaf pans, just put the loaves on a oven tray cover with parchment paper.
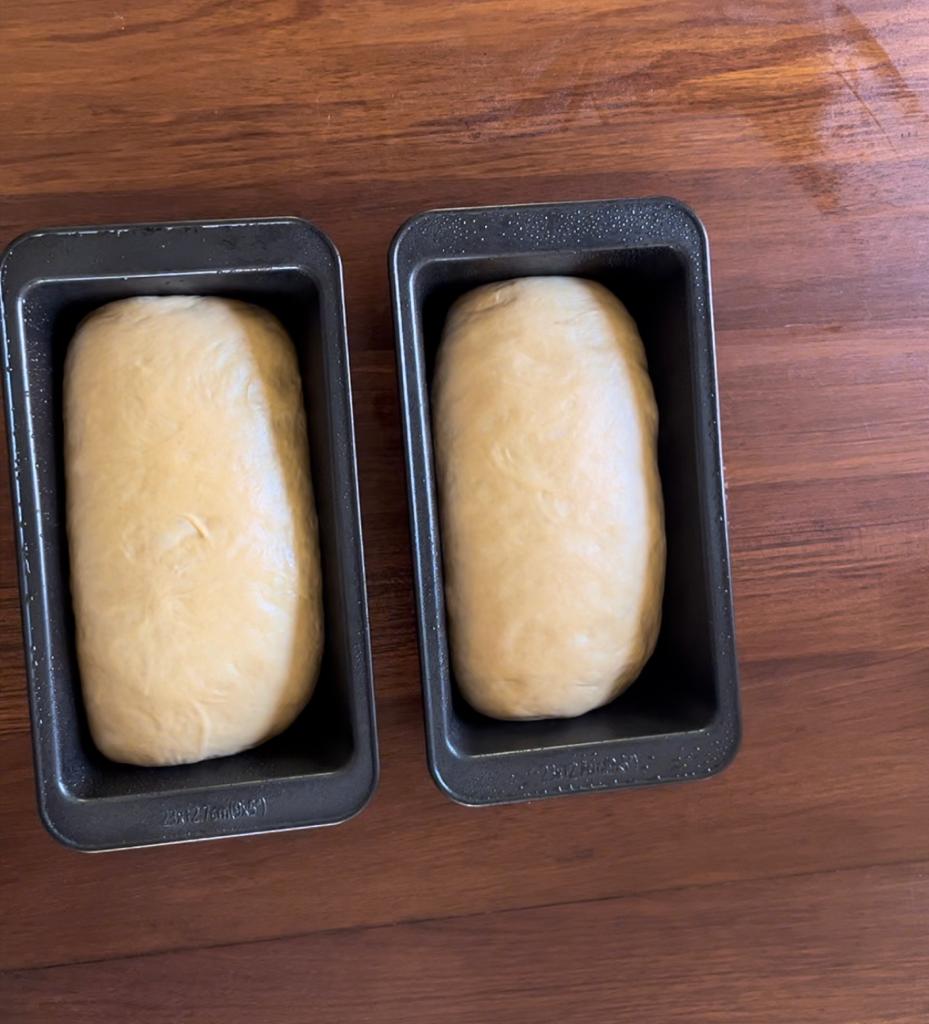
5. LET THE LOAVES REST & RISE
Cover with tea towel and leave to rise for about 30 minutes, The should have almost doubled in size. Heat the oven to 200c.
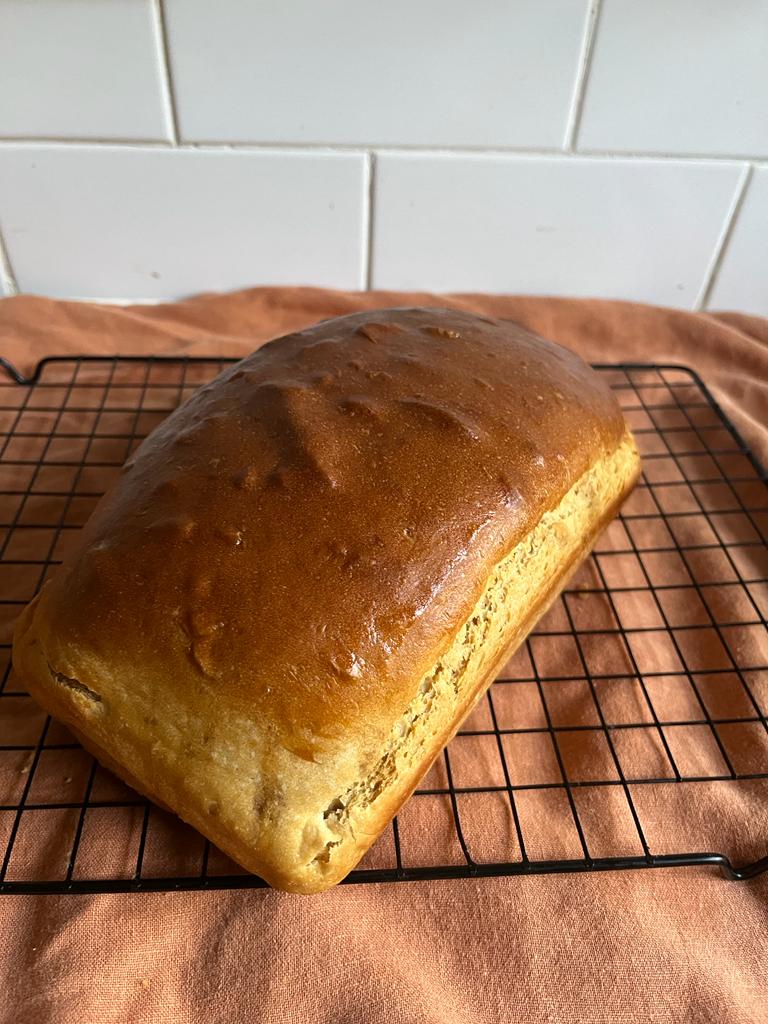
6. BAKE
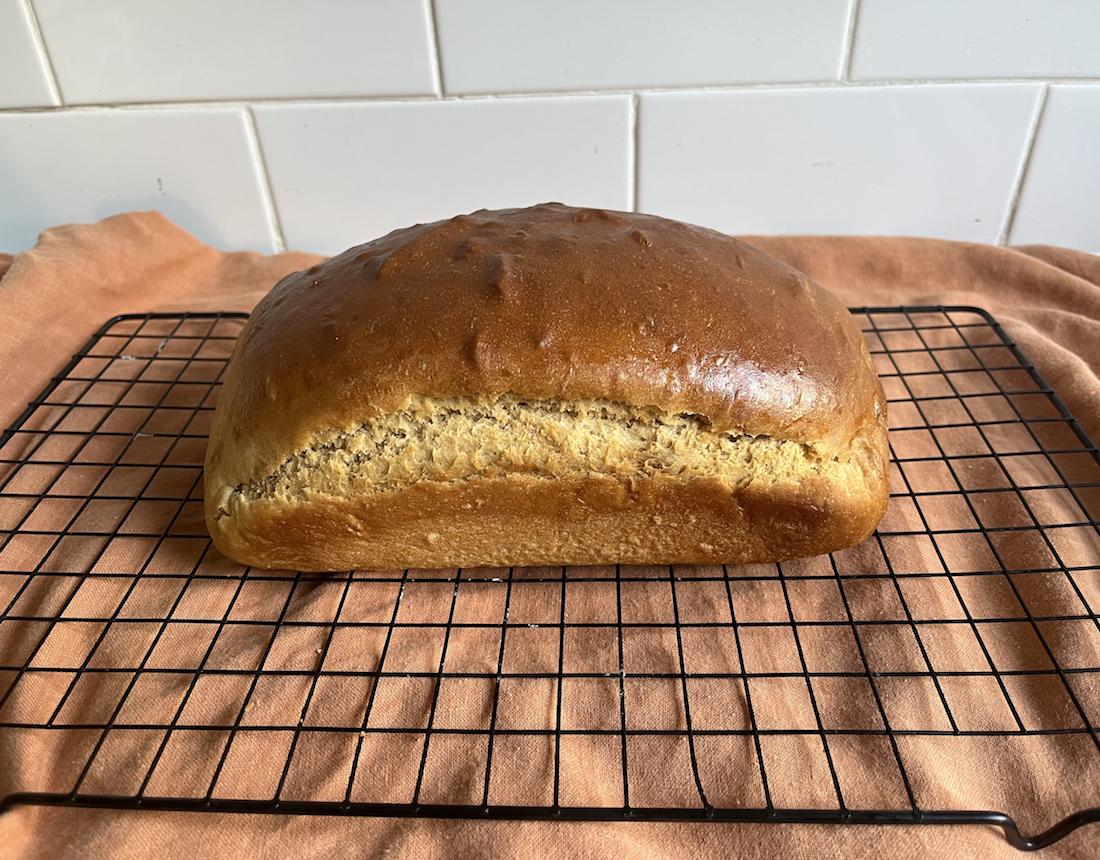
Bake in the lower part of the oven for 35–40 minutes. Pour bread syrup into a bowl add 1 tsp of water and mix then use the brush to brush the loaves with the mix immediately when they come out of the oven. Leave them to rest in the pans for
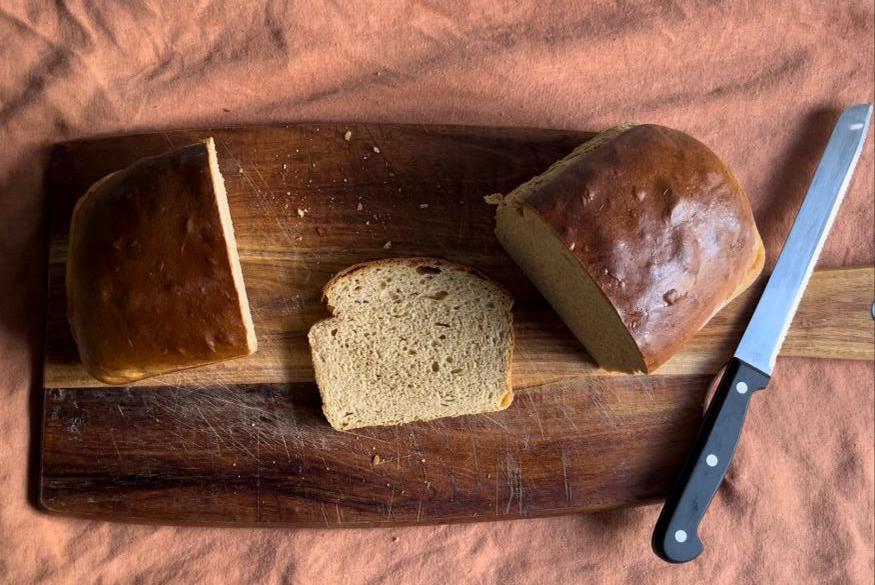
10 minutes before placing the loaves on a cooling rack and allow to cool completely
before cutting them. Enjoy!