PRINCESS CAKE
TOTAL TIME: 2H
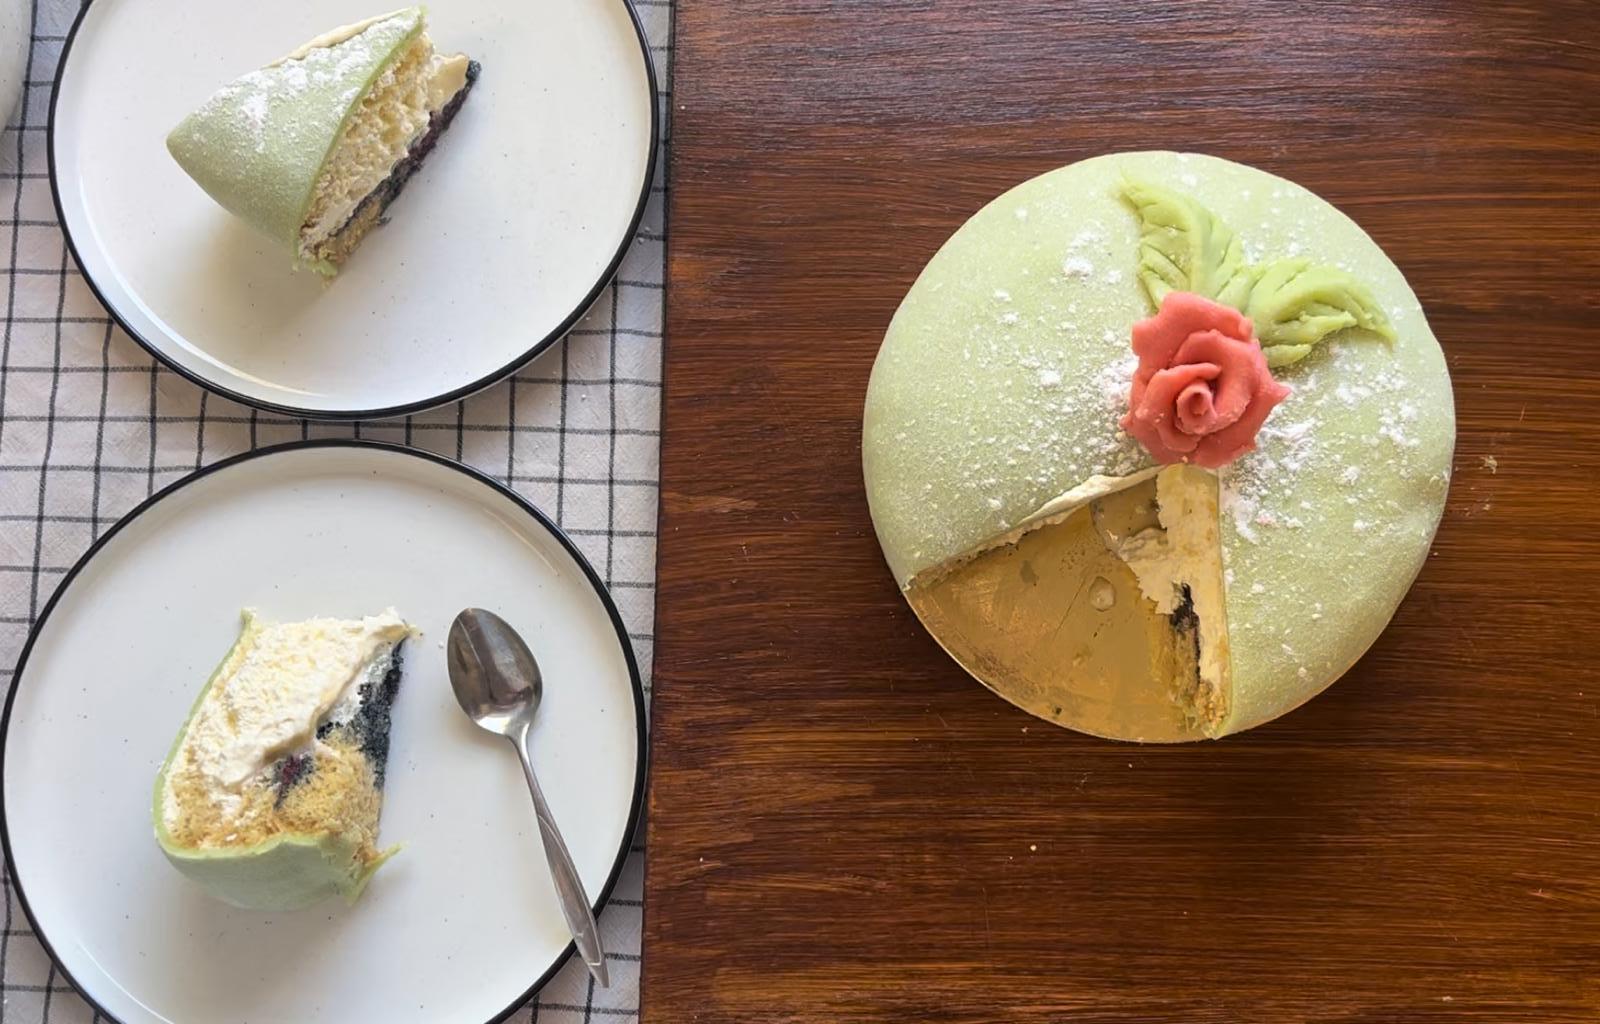
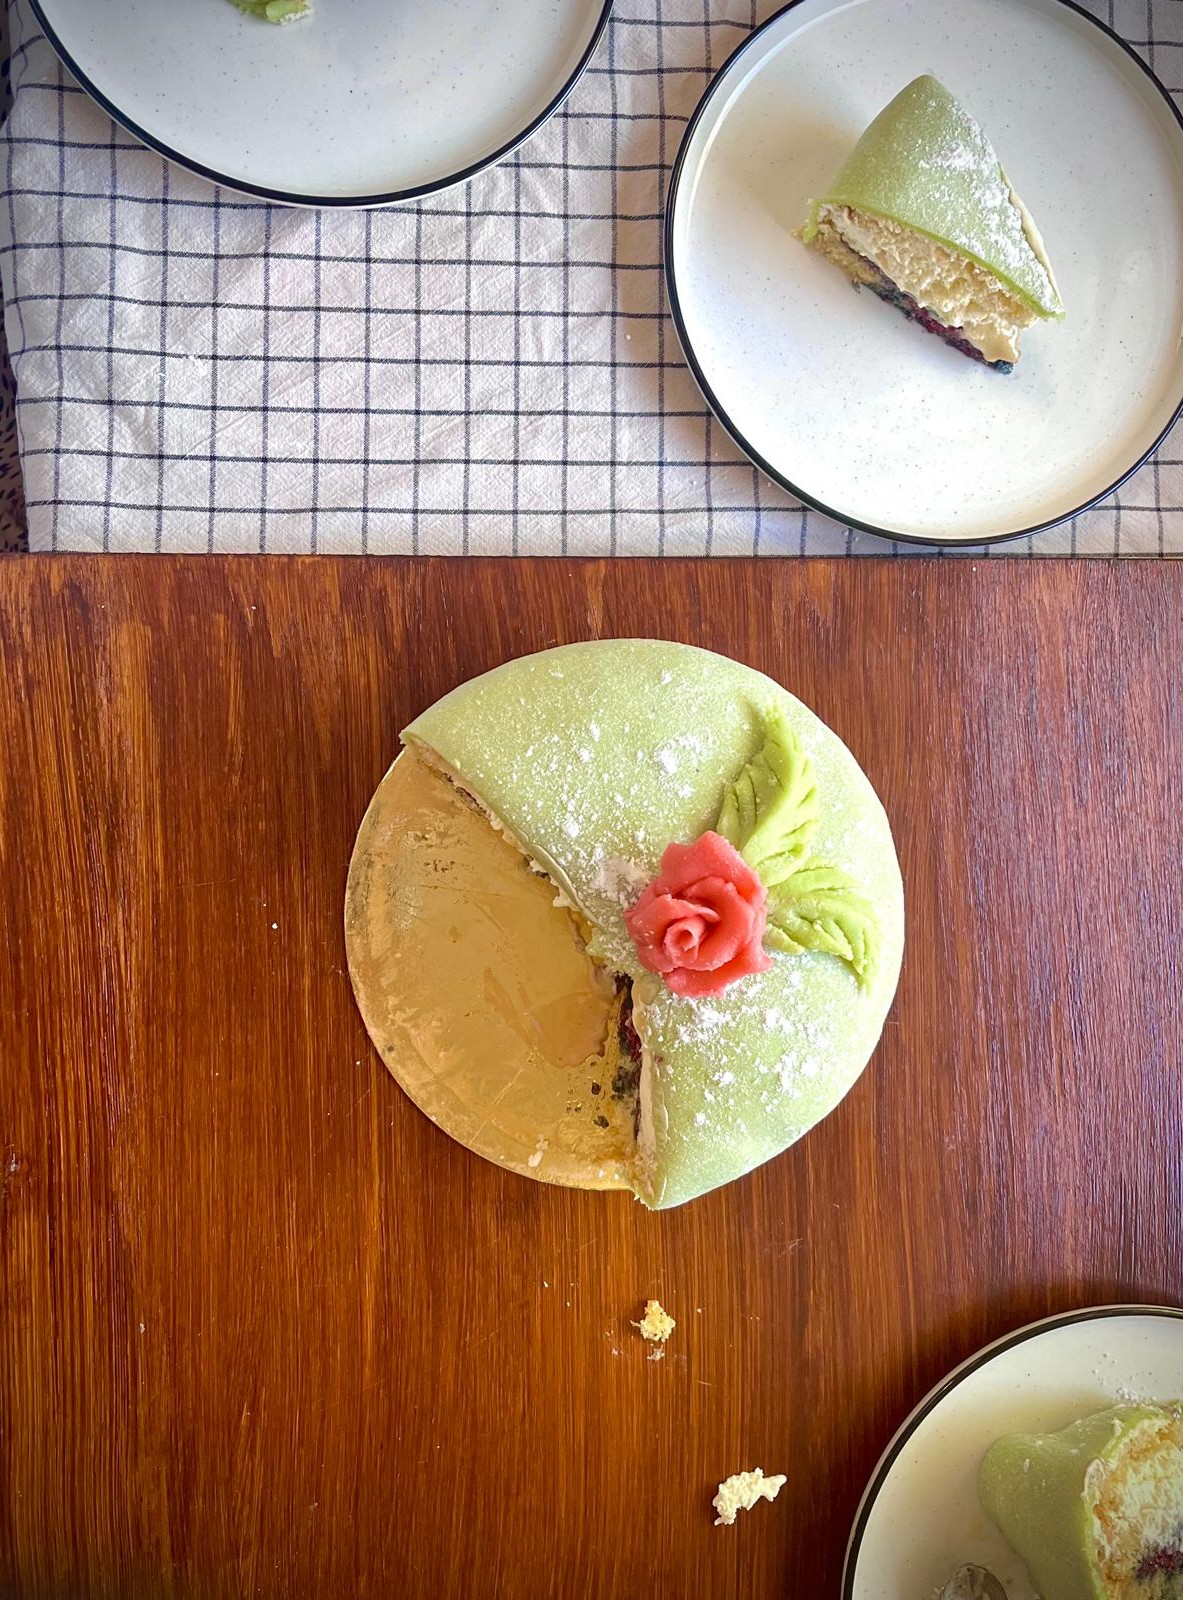
The Swedish Princess Cake (Prinsesstårta) is a true showstopper. This beloved classic features layers of light sponge, raspberry jam, smooth vanilla custard, and whipped cream, all wrapped in green marzipan. Topped with a pretty pink rose, it’s the perfect centrepiece for any special occasion – or simply when you fancy a bit of indulgence. Luxuriously light and creamy, this cake offers a delightful taste of Swedish cake tradition.
You won’t find a Swede who could resist a slice of this beauty—it's a favourite that’s hard to turn down!
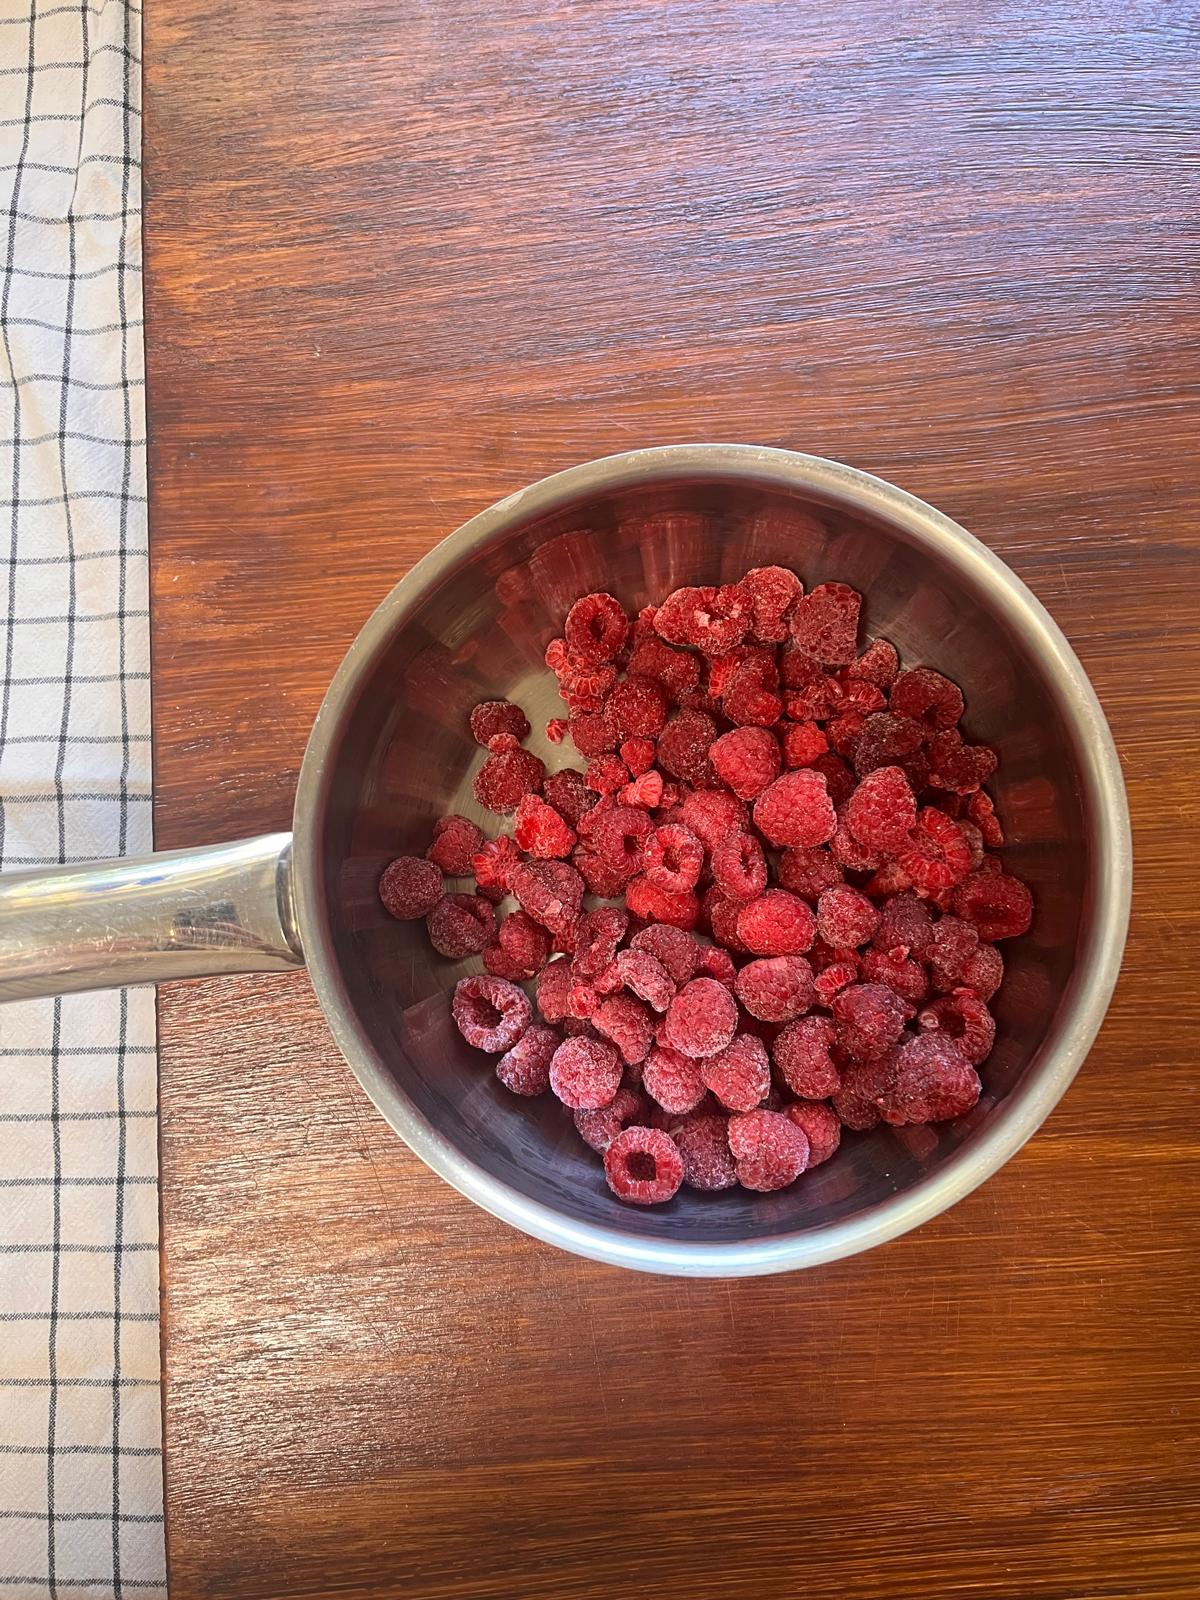
1. MAKE RASPBERRY JAM
Place the raspberries in a saucepan along with the sugar from bag C, bring to a boil, and let it cook while stirring for 5 minutes. Remove the saucepan from the heat. Pour the jam into a clean jar or bowl and cover. Place the jam in the fridge.


2. MAKE VANILLA CUSTARD
Pour 100ml of milk in to a small saucepan and bring the milk to a boil and remove from saucepan from the stove.
In a separate bowl whisk together the egg yolk and bag d. Pour the hot milk into the egg mixture while you continue to whisk.
When it’s all mixed together, pour it back into the saucepan.
Now heat it up on low heat while whisking until the cream thickens, as soon as it does, remove the saucepan from heat and keep whisking.
Then whisk in the butter. When fully mixed in scoop in the custard in the piping bag and put the bag in the fridge.


3. MAKE SPONGE CAKE
This cake will rise high. So you need a cake tin with high edges or make a collar of parchment paper around the edge of the tin to prevent the cake from overflowing.
Whisk the eggs and sugar from bag a until fluffy. Then sift bag b into the egg mixture while gently folding with a spatula or spoon. Pour the batter into the cake tin and bake on the lower rack of the oven at 180°C for a conventional or 160 fan forced.
The baking time depends on the size of the pan, anywhere from 35 to 50 minutes. Check with a toothpick—if it comes out dry, the cake is done.


4. MAKE THE MARSIPAN
Pour the contents of bag g into a bowl. Add 1 egg white (and if needed a little splash of water) and bag h. Mix thoroughly, adding a bit more water if needed until the mixture forms a smooth dough. Knead it briefly, shape it into a cylinder, then wrap it in baking paper or place it in a plastic bag. Let it rest in the fridge for a minimum of 30 minutes. After chilling, remove the marzipan from the fridge.
Take 50g of the marzipan and put it into a small bowl. Add one drop of pink or red food colouring and mix until the marzipan turns a consistent pink. Wrap it and return it to the fridge. Now, add a 1-2 drops of green food colouring to the remaining marzipan and mix until it turns green. Wrap and refrigerate the green marzipan as well


5. MAKE THE MARSIPAN ROSE
Divide the marzipan into 6 equal-sized small balls. To flatten each ball, place it in the centre of a clear plastic bag or between two sheets of baking paper. Using the palm of your hand, gently press down until the ball forms a smooth, even circle, slightly larger then the size of a 50c coin. Be careful not to press too hard, as you want the marzipan to remain thick enough to shape later. Repeat this process for all 6 balls, creating 6 small marzipan circles.
To start making the rose, take the first circle and roll it into a small, narrow roll to create the rosebud. Next, take two more circles and place them on either side of the rosebud, wrapping them around so they overlap slightly. Press the petals together at the bottom to secure them, then use your fingertips to gently press and shape the top edges to look like real petals.
Continue adding petals by wrapping three more circles around the rosebud. Space them evenly around, overlapping slightly as before. Gently fold out the top edges to open the petals, mimicking the look of a blooming rose. You have now created a beautiful rose.
Once complete, trim any excess marzipan from the bottom by cutting below the rose with a knife. Your perfect marzipan rose is now ready.
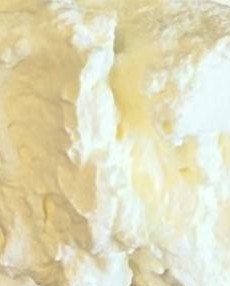
6. WHIP CREAM
Begin by whipping 300ml of cream until it's light and fluffy and white, and forms peaks.


7. ASSEMBLE CAKE
Now it's time to assemble the cake. Ensure the cake, vanilla custard, and jam are completely cool.
Carefully slice the cake into three even layers. Take the bottom layer of the sponge cake and flip it over so the underside is now facing up. This helps enclose the drier part of the cake and makes it more stable. Place this layer on the serving tray and spread raspberry jam over the top, leaving about 1 cm around the edges to prevent the jam from leaking out later.
Next, add the second layer of cake—this should be the original top layer. This prevents any dry parts in the cake. Using a piping bag, pipe the vanilla custard evenly across this layer. Then, pile a generous amount of whipped cream in the centre on top of the custard, shaping it into a dome shaped cone. Finally, place the third layer (the middle layer) on top of the cream to act as the lid. Gently press in the edges to create a smooth, rounded dome without sharp edges on the sides.
Use the remaining whipped cream to coat the top and sides of the cake in a thin layer. This will seal in any crumbs and help shape the cake into a smooth, rounded form. Place the cake in the refrigerator to chill while you prepare the marzipan lid to cover it.


8. ROLL OUT THE MARSIPAN LID
Knead the green marzipan until it becomes soft and roll it out to about 3–4 mm thick and larger than the cake itself. Use plenty of icing sugar from bag e to prevent the marzipan from sticking to the table and to the rolling pin. Lift the marzipan inbetween rolling out to put more icing sugar, to prevent it from sticking to the table. Drape the marzipan over the cake and shape it with your hands around the cake. Trim the edges to make them even.


9. DECORATE THE CAKE
Use the excess marzipan to make two leaves.
Roll two small balls of marzipan. Take one ball and place it between the base of your palms. Gently roll it into a teardrop shape. Place the teardrop on the table and press down on the sides with two fingers to flatten it slightly, creating a small ridge in the middle. Using a knife, make diagonal marks from the ridge down each side to form the leaf. Repeat the process with the other ball.
Now take your cake and sift some icing sugar from bag e on to it. Then brush a little water on the top of the cake in the middle and then carefully place your marzipan rose there. Then take the leaves and gently bend them a little to resemble real leaves and place them on each side of the rose. Voila! Your princess cake is done!