Limited time offer: Get your first box free! When signing up for 3, 6 or 12 months. Use code: FIRSTBOX_FREE

SPANDAUER DANISHES
TOTAL TIME: 2H
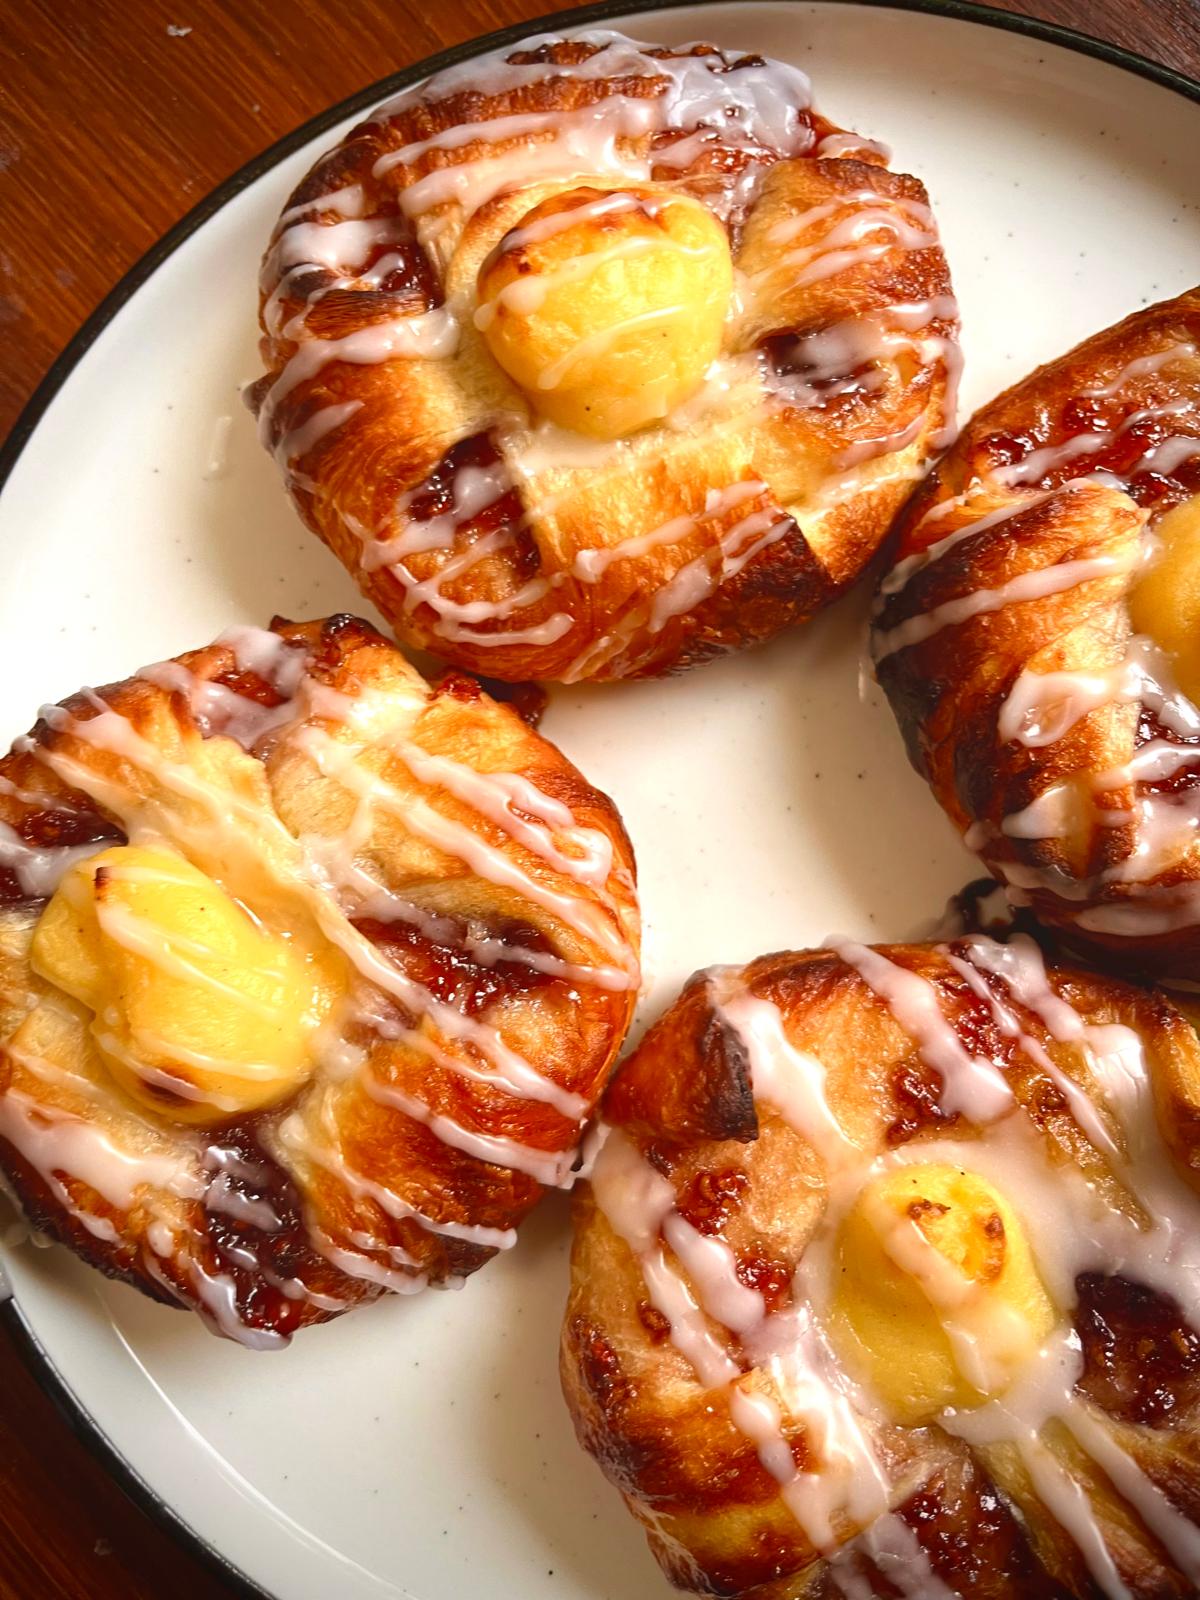
Spandauer is a flaky, buttery Danish pastry filled with rich custard and jam and topped with a light icing drizzle. With its crisp, golden layers and sweet, creamy center, this beloved treat is a staple in all Nordic bakeries—perfect for fika, or an indulgent snack!
1. MAKE THE CUSTARD
Start by placing 1 egg in the fridge (you’ll need it cold for the dough later).
Prepare 15g of butter on a pate, then in a small saucepan, bring 100 ml of milk to a boil, then remove it from the heat.
In a separate bowl, whisk 2 egg yolks (save the egg whites for later) with Bag d (cornflour, sugar, and vanilla sugar). Slowly whisk in the hot milk. Pour the mixture back into the saucepan and cook gently over medium heat, whisking. As soon as you feel it starts to thicken, renove from the heat and keep whisking.
Whisk until the custard thickens. Whisk in 15g of butter, then transfer to a piping bag and place it in the fridge to chill.
Tip: Place the piping bag in a glass, and fold it over the edges of the glass then its easier to fill it with the custard.

2. PREPP THE BUTTER
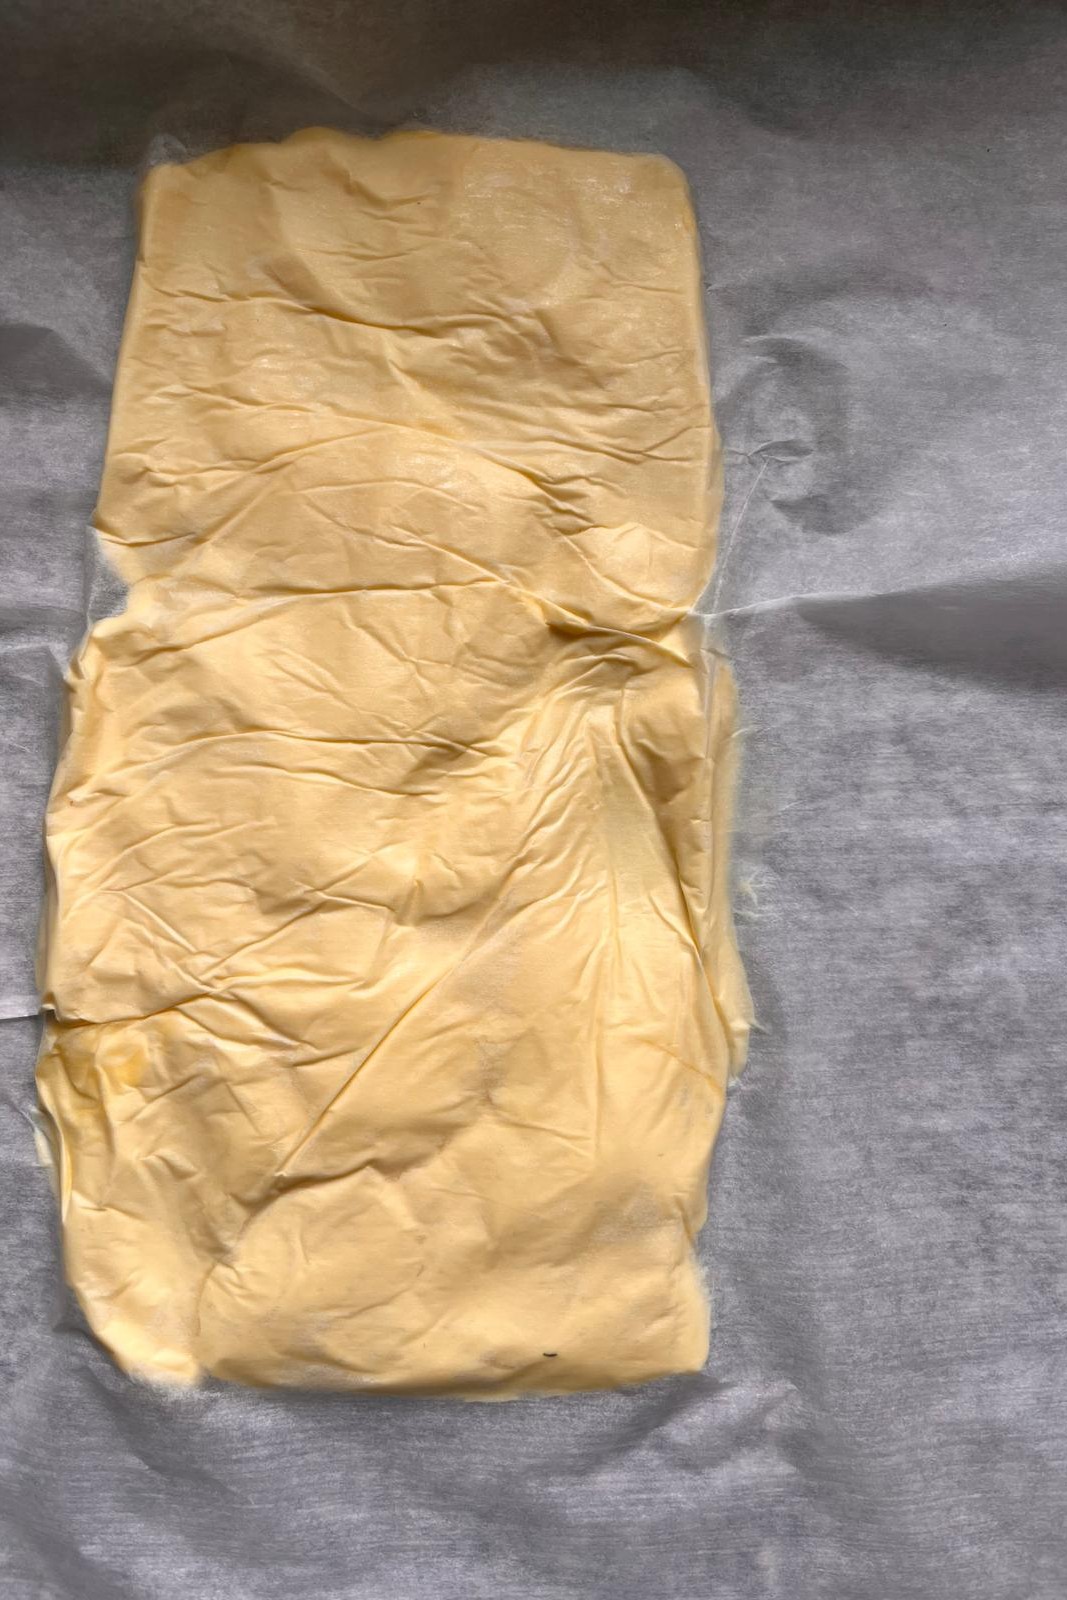
Cut 150g of butter into 3 equal slices and sandwich them between two sheets of baking paper. Flatten the slices gently and cut them in half to make 2 equal squares. Chill these in the fridge.
Tip: You can use your rolling pin to gently flat the butter out to one flat piece between the baking papers.

3. MAKE THE DOUGH & CHILL
In a large bowl, combine the contents of Bag a with 180ml of cold milk and the cold egg from the fridge. Add Bag b and mix for 5 minutes by hand or mixer until a soft dough forms.
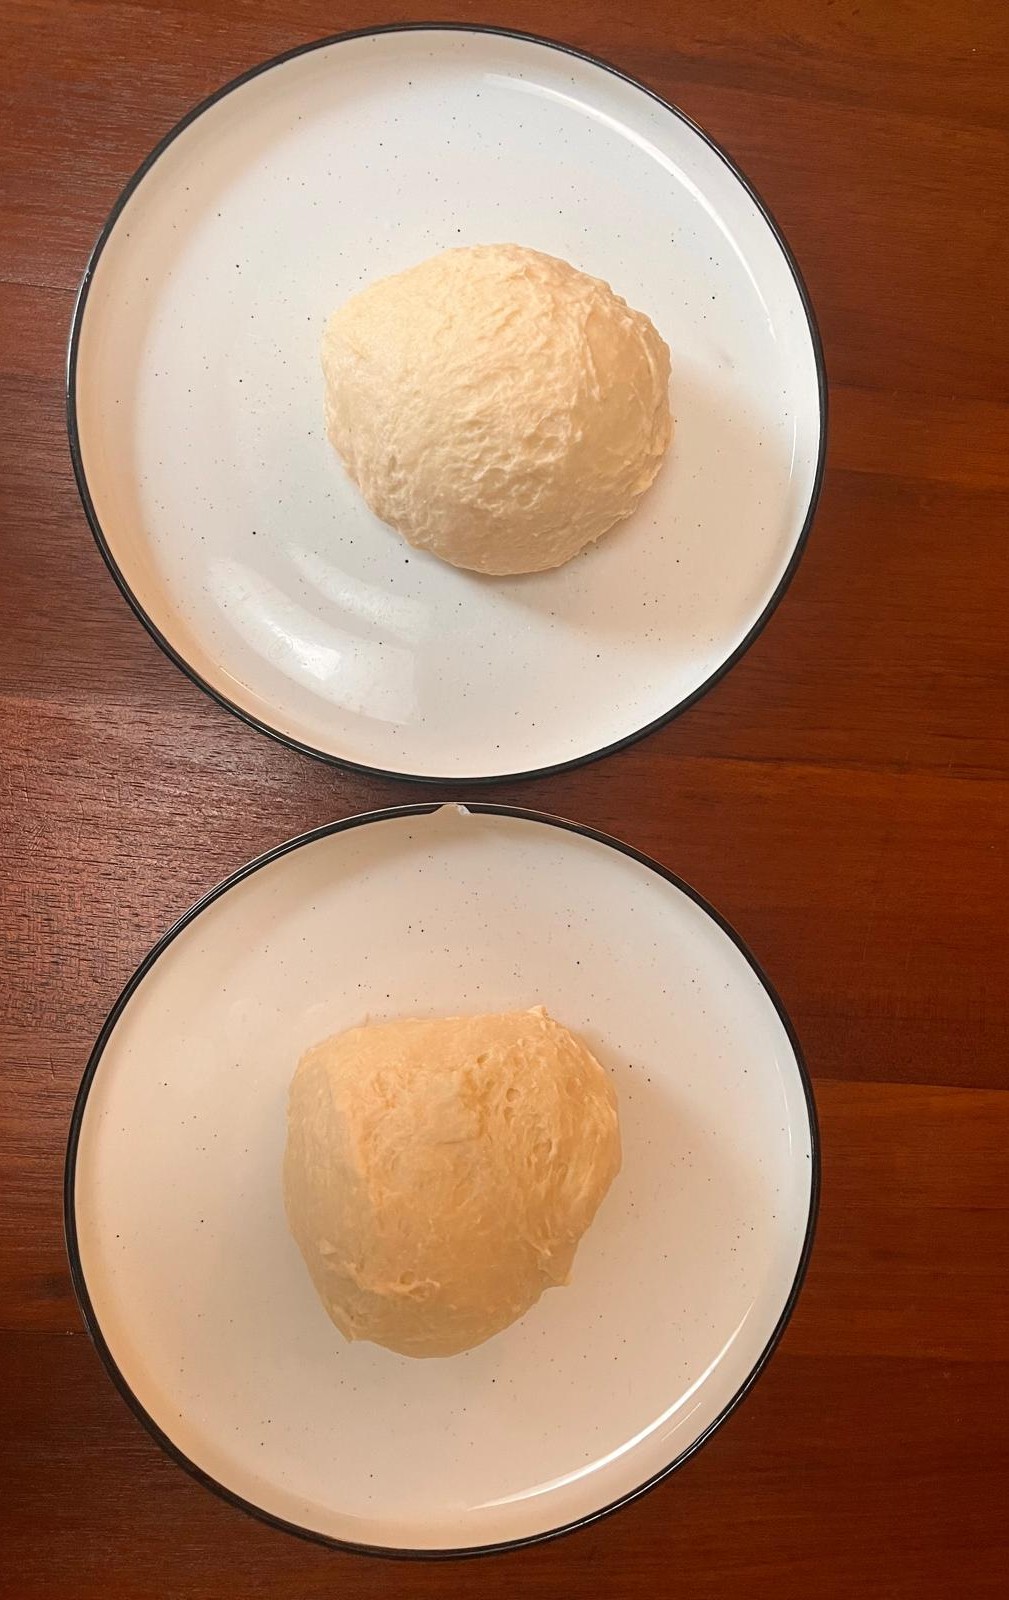
Divide the dough into 2 equal portions. Place each piece on a plate, cover with plastic wrap or a tea towel, and chill in the fridge for 10 minutes.
Tip: Chilling the dough keeps it from rising to fast, to enable the times for folding.
Letting it rest helps it relax the gluten, making it easier to roll out and easier to stretch.
4. FIRST FOLD
Lightly flour your surface using Bag f (extra flour). Take out one dough piece from the fridge and roll it into a rectangle about 30 × 20 cm.
Place one square of chilled butter in the centre. Fold the short ends of the dough over the butter so they meet in the middle, then fold the long ends over the top like an envelope.
Rotate the dough a quarter turn and roll it out again to 30 × 20 cm. Fold one third of the dough toward the centre, then fold the remaining third over it—just like folding a letter.
Place the folded dough in the fridge. Repeat this process with the second dough piece.
Chill both folded doughs for 10 minutes.
5. SECOND & THIRD FOLD
Take one dough, and rotate it a quarter from how you had it before. So that the folded "seam" is placed to the left of you and roll it out to 30 × 20 cm again. Do another letter-style three-fold and return it to the fridge.
Repeat with the second dough.
Chill both doughs again for 5 minutes, then repeat this step and do one final fold, before moving on to shaping.
Tip: These folds create the pastry’s signature flaky layers. You have now done 3 x 3 x 3 layers, which gives 27 layers, the traditional amount of layers on a danish.
6. CUT & SHAPE THE DANISHES
Take one dough portion and roll it into a rectangle about 18 × 27 cm. Cut it in half lengthwise, then cut each half into 4 equal pieces—you’ll have 8 squares (about 9 × 9 cm each).
Place the squares on a baking tray lined with baking paper. Add a small teaspoon of raspberry jam to the centre of each square. Fold the opposite corners into the centre and press gently to seal them together. Then fold in the remaining two corners and press again. It should now be a little square package filled with jam. Repeat this with all the squares.
Now repeat the whole step with the second dough. You’ll have made 16 danishes in total. Cover loosely with plastic wrap or a kitchen towel and let them rise for 1.5–2 hours, or until almost doubled in size.
Tip: Place them in a cold oven and place a cup of boling water in the bottom to make a mini steam room. Close the oven door. Just make sure to remove them before prehating the oven.
7. PIPE CUSTARD & BAKE
Preheat your oven to 240°C (conventional) or 220°C (fan-forced).
Once proofed, use your fingers to press a small dent in the centre of each pastry.
Take the custard piping bag from the fridge and pipe a little custard into each dent.
Brush the pastries with leftover egg whites for a glossy finish. Bake in the middle of the oven for 7–10 minutes, or until the pastries are golden brown and puffed.
Tip: Keep an eye on them—oven times vary. They’re done when golden and light brown.
8. MAKE THE ICING & DECORATE
In a small bowl, mix Bag E (icing sugar) with 1 tsp of water. Stir until smooth and glossy. Add a few extra drops of water if needed to reach a drizzling consistency.
Once the pastries are fully cooled, drizzle the icing over the top and let set.
Enjoy your homemade Spandauer Danishes—fresh, flaky, and filled with jammy custard goodness!
Tip: These are best eaten the same day, but they also freeze well (the will keep for 3 months in the freezer).
If you freeze them do so before you put icing on them. Reheat them for a few minutes in a hot oven or a airfryer.


