VIKING BREAD
STONEGROUND WHOLEMEAL & HEMP SEEDS
Travel back in time with this rustic bread inspired by ancient Nordic traditions. Made with hearty stoneground wholemeal flour and nutritious hemp seeds, this bread reflects the ingredients that nourished generations of Scandinavians. Hemp has been cultivated in the Nordics since long before the Viking Age. Archaeological findings show that hemp was grown as early as the 3rd century in the Nordics. It continued to be an important crop during the Viking Age, and by the 12th century, hemp was officially recognised as one of the six most important crops in Sweden, alongside other crops like flax, wheat, and rye. This wholesome, fibre-rich bread is a tribute to that legacy. Simple, strong, and sustaining, a delicious way to connect with your inner Viking.
1. MIX THE DOUGH
In a large bowl or the bowl of a stand mixer, add Bag a (yeast). Pour in 600ml of water and stir gently to dissolve the yeast. Let it sit for 2 minutes so the yeast can activate.
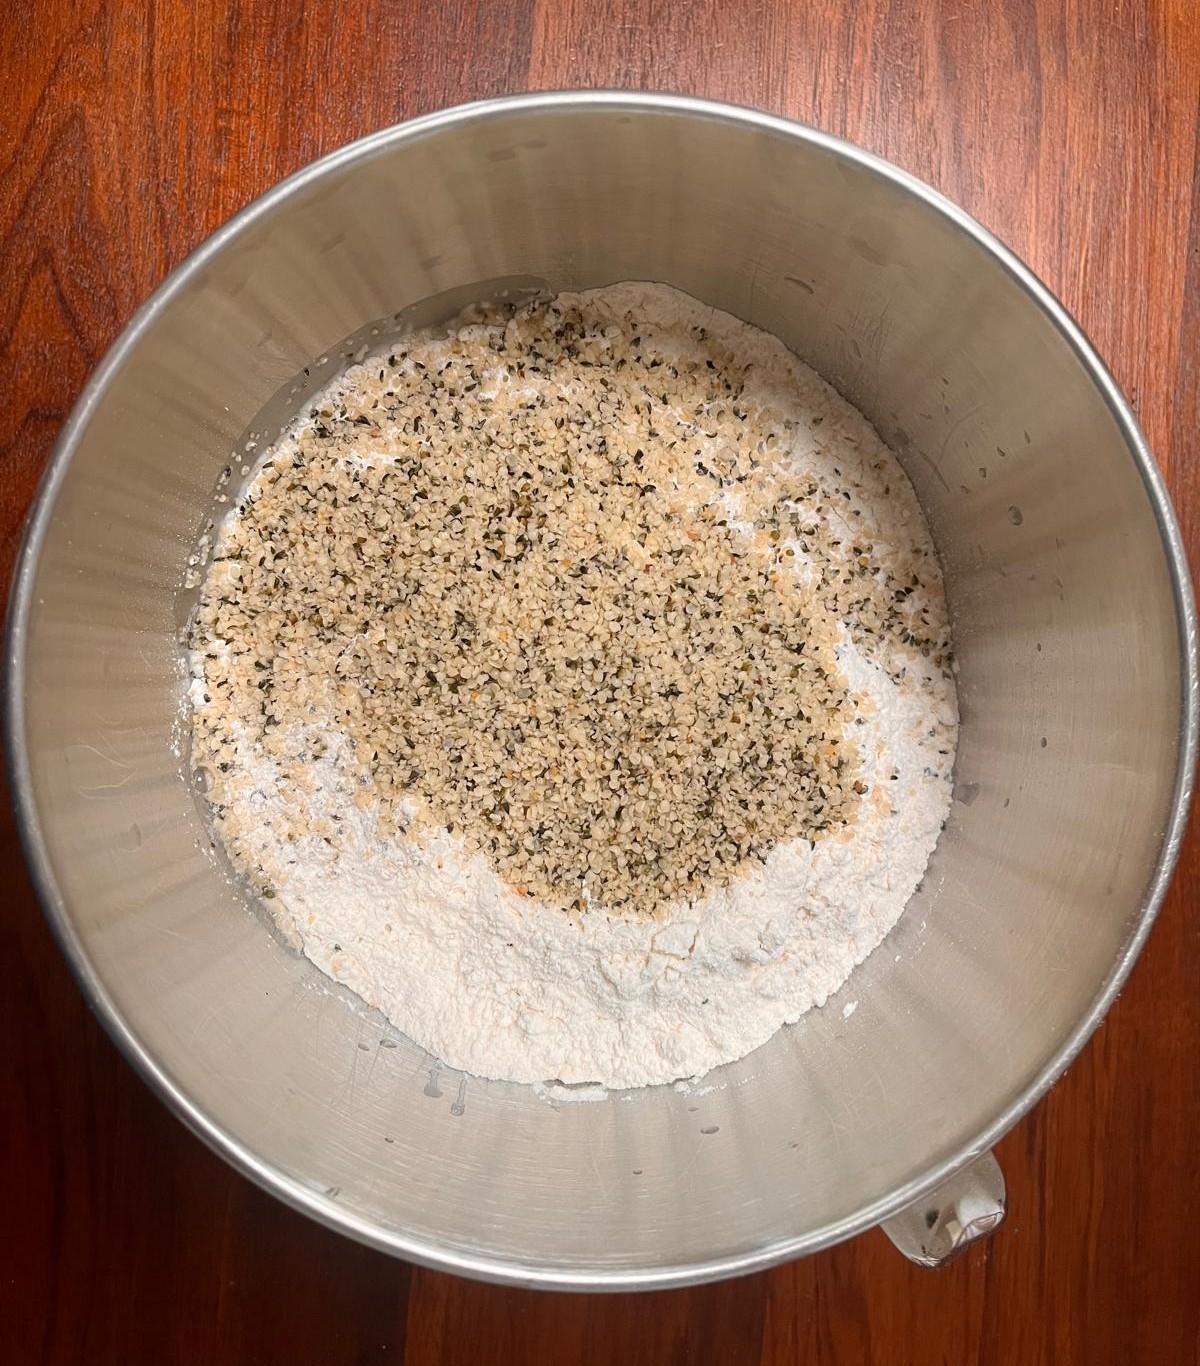
Next, add Bag i and 20ml of oil.
If using a mixer, attach the dough hook and knead on the lowest setting for 5 minutes.
If kneading by hand, it helps to have a small bowl of water nearby. Dip your fingers in the water as needed to prevent the dough from sticking. Start by mixing with a Danish dough whisk or a wooden spoon until a rough dough forms, then knead with your hands until the dough is fully combined and no dry spots remain.
Cover the bowl with a tea towel and let the dough rest for 30 minutes. This rest period helps hydrate the flour and makes the dough easier to handle.


2. STRETCH AND FOLD
After resting, begin strengthening the dough through a series of stretch and folds.
Grab one corner of the dough, stretch it upwards gently, then fold it over toward the centre of the dough.
Rotate the bowl slightly and repeat—stretch up another corner and fold it in. Continue rotating the bowl and stretching and folding until you've gone all the way around the dough twice (about 8 folds in total).
As you do this, the dough will begin to feel tighter and offer some resistance. This is a good sign—you're building strength and structure in the dough by developing the gluten.
Why is strong gluten important?
Gluten acts like a stretchy net that holds the dough together. As the yeast ferments and releases gases, strong gluten threads trap those gases, allowing the dough to expand like a balloon instead of tearing. This creates a light, fluffy, and airy texture in your finished bread.
Cover the bowl again and let the dough rise for 1–2 hours, or until almost doubled in size. Place it somewhere warm (ideally around 26°C) and out of draughts.


3. PREHEAT & PREP FOR SHAPING
Preheat your oven to 200°C (conventional) or 180°C (fan-forced).
Prepare two loaf tins by oiling them, or line a baking tray with baking paper if you're baking free-form loaves.
Lightly flour your kitchen bench or work surface using flour from bag f.
Turn the dough out onto the floured surface and divide it evenly into two portions using a dough scraper or a knife. Shape each dough piece into a rough ball by kneading it with the palm of your hand in a round circle. Then cup the dough with both your hands and carefully drag the dough towards you along the bench, and then push it away from you in a circle. Do 2 circles. The dough should now be a round tight ball.
Cover with a clean tea towel and let the dough balls rest for 10 minutes to relax—this makes shaping easier.


4. SHAPE THE LOAVES
Take one dough ball and gently flatten it into a rectangle, being careful not to press out all the air.
Fold the bottom third of the dough up toward the centre and press it down gently with the palm of your hand. Then fold the top third over the bottom fold—like folding a letter—and gently press along the seam to seal it.
Next, pinch along the seam from one end to the other to lock it in place and help the dough hold its shape. Turn the dough over so the seam side is facing down. This gives you smooth, tight loaf. Place the shaped dough into your prepared loaf tin or onto the lined baking tray with the seam down.
Repeat with the second dough ball.
Cover the loaves loosely with a tea towel and let them rise for about 1 hour, or until they have almost doubled in size again.


5. DECORATE & BAKE
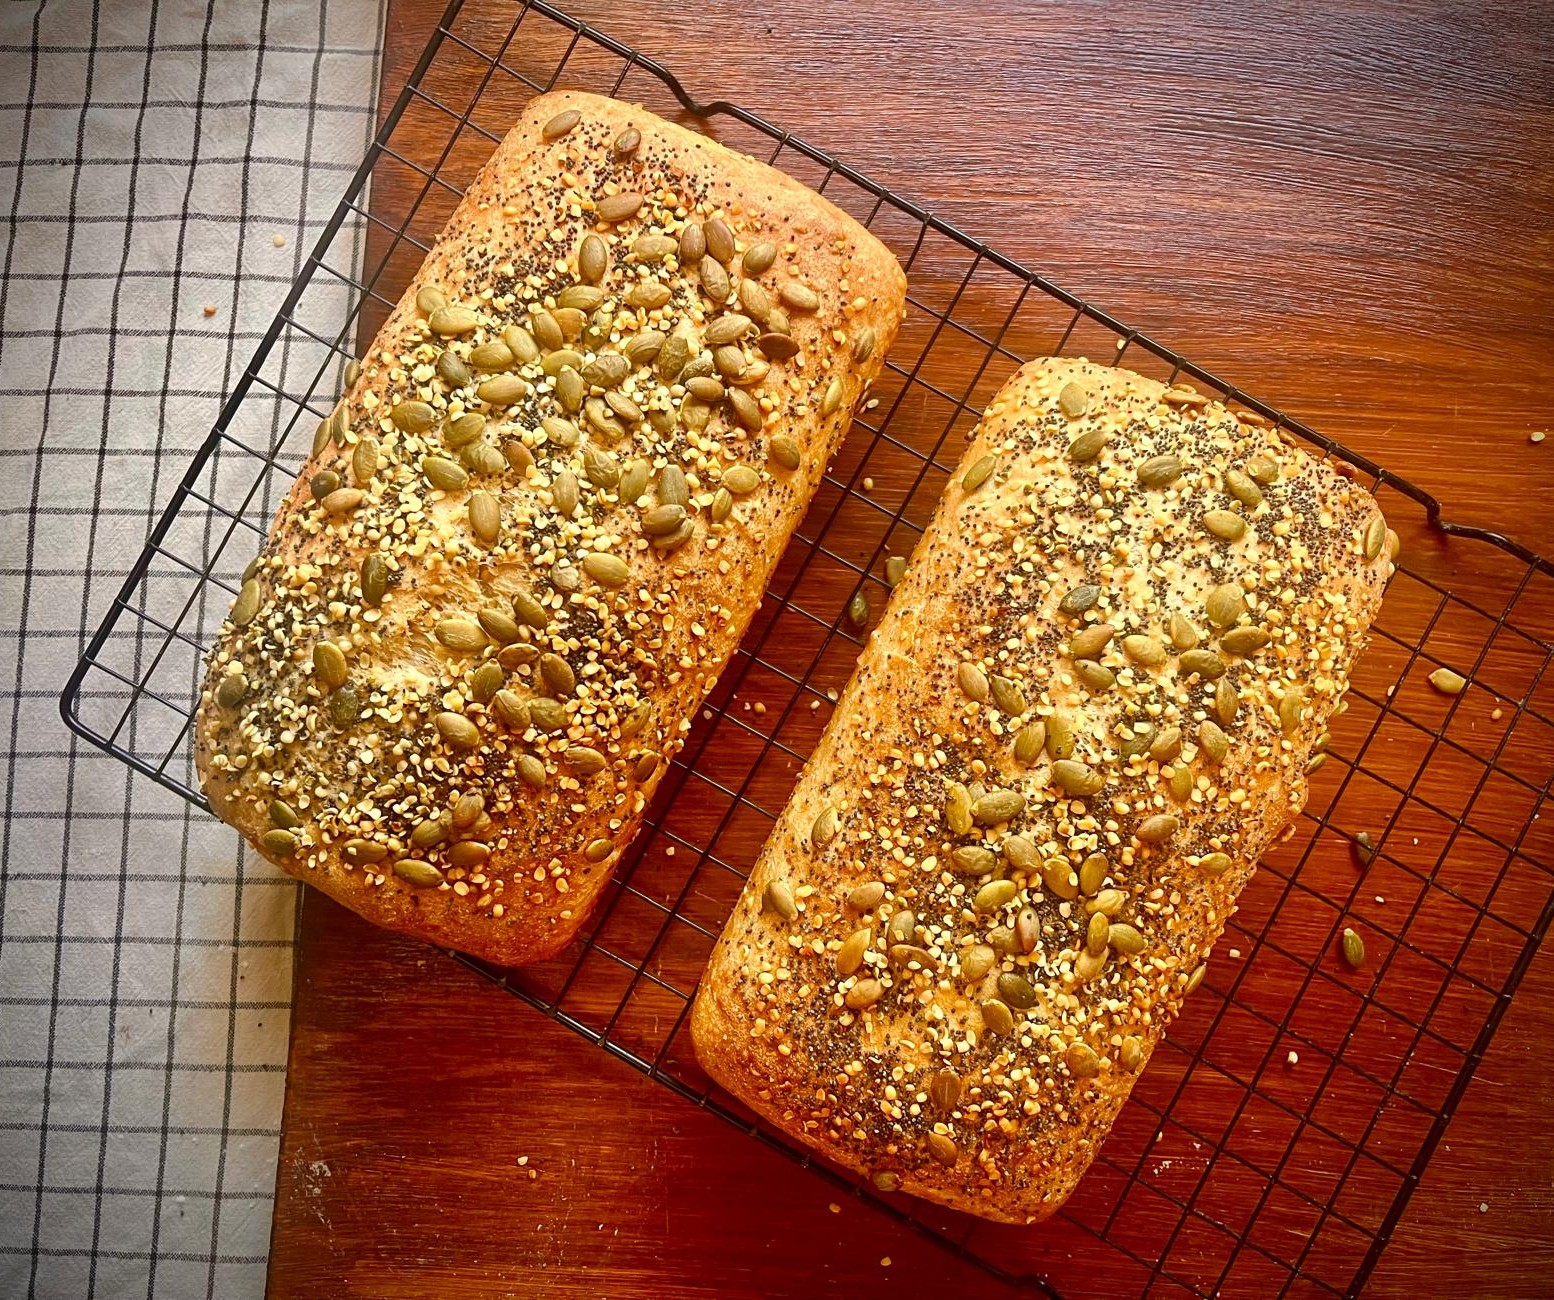
Lightly brush the tops of the risen loaves with some water and sprinkle generously with the mixed seeds from bag g (a blend of hemp, poppy, and pepitas).
Place the loaves in the middle of the preheated oven and bake for 35–40 minutes, or until golden brown and they sound hollow when tapped on the bottom.
If unsure, you can also check that the internal temperature of the bread reaches about 98°C.


6. COOL AND STORE
Let the baked loaves cool completely on a wire rack. Let the bread cool completely before slicing, ideally for at least an hour. This allows the crust to stay crisp and the inside to finish setting.
Your Viking Bread will keep well for 2–3 days at room temperature, stored in a bread bag or airtight container. For longer storage, slice and freeze it for up to 3 months.
Enjoy your freshly baked bread!